Building Removable Water Rocket Box Fins.
Introduction:
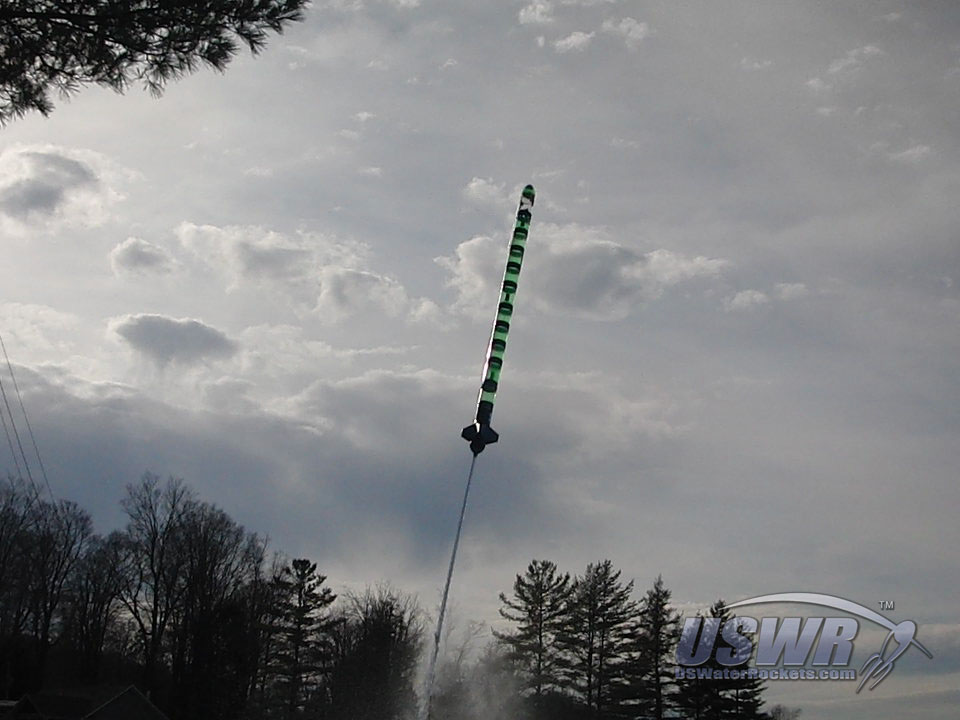
One set of Water Rocket components which are critical to a successful and stable flight are the fins. he fins keep the water rocket stable, and accurately pointed in the desired direction. Improperly aligned fins can result in poor performance of the rocket at best and at worst can lead to property damage or personal injury.Most techniques for creating fins for Water Rockets are time consuming and are fragile. Fragility can lead to damage which can degrade performance and lead to repairs or replacement using the same time consuming construction methods.
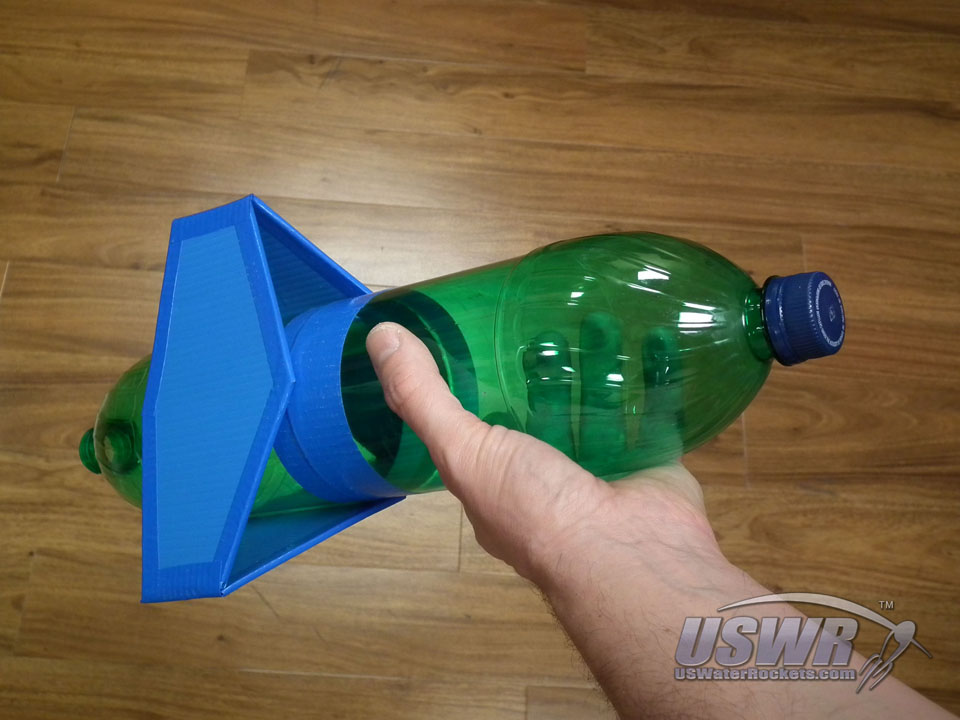
U.S. Water Rockets designed and tested a new idea for creating water rocket fins which is called the "Box Fin" design, to create a quick and easy method for adding fins to Water Rockets which were much more rugged than typical fins, yet easier to fabricate with a higher degree of accuracy.
This tutorial will explain how to create a triple box fin for a water rocket.


Tools and Materials Required:
-
Materials Required:
- Water Rockets
- Corriflute
- Electrical or Duct Tape
- Hook and Loop Fastener (Velcro) Tape
- Paper
-
Tools Required:
- Scissors
- Pen
- Ruler
USWR Box Fin Template [pdf] (83Kb pdf).
Step 1: Find the diameter of your rocket:
Shown in the gallery here are a pair of spliced bottle rockets with different diameters. rockets with different diameters. If you want to learn more about splicing bottles properly, see [Bottle Splicing Tutorial].To determine the diameter of any bottle, you can use some simple math.
The circumference of a circle is defined by the formula:
circumference = Pi * diameter
Solving for radius the formula becomes:
diameter = circumference / Pi
We measured a 1.5 liter Mountain Dew bottle and the circumference is 285mm. Plugging into the above formula we can determine the exact radius. diameter = 285mm / 3.1415 = 90.71mm
Gallery
Step 2: Designing a Fin Template:
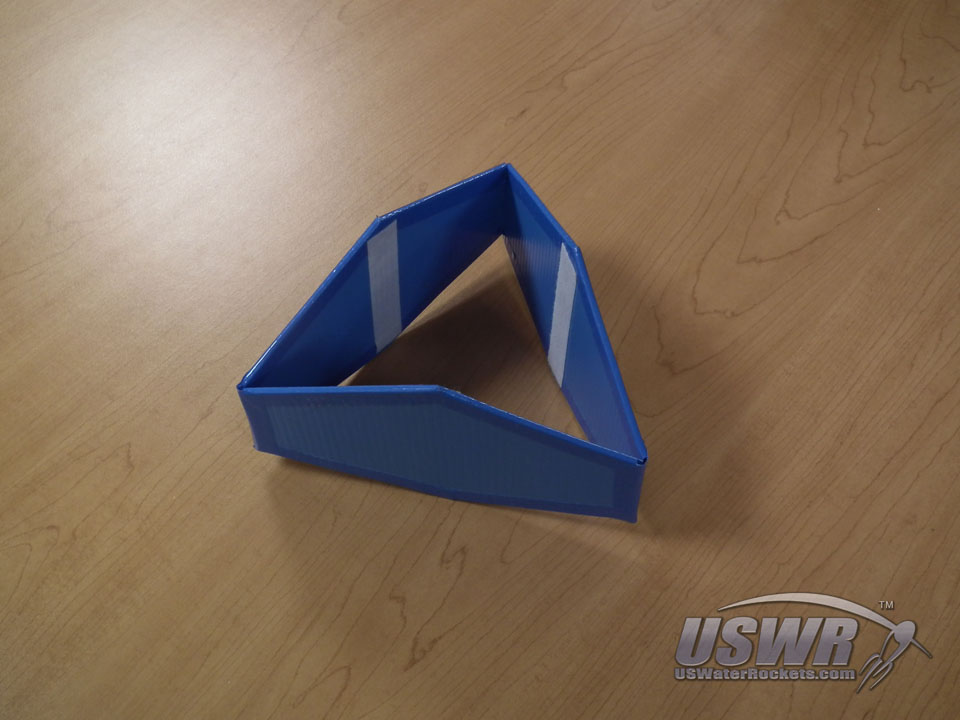
This box fin design is the most basic form which will have three sides with three corners that are spaced equally around the bottle. The shape will be triangular with all 3 sides the same length.The box fin set must be sized such that it will fit around our bottle. If the fin set is not sized properly, the bottle will not fit inside. The formula to determine the length of each side of such a triangle is:
Length = Diameter * 0.866 * 2
We now know the length of each side (the width of each fin) will be:
90.71mm * 0.866 * 2 = 157.12mm
We will now design a fin shape that is more than 157.12mm wide and draw a template using this width. When we design our fins, we usually make them trapezoidal in shape with the narrow side at the tip and the wide side at the root. This shape is advantageous because the fin is not prone to tangling in the parachute shroud lines or getting hooked on tree branches. Swept back or delta shaped fins offer a bit more stability, but can get snagged more easily or are more prone to damage on landings.
Draw your fin shape on paper and cut the template out.
The template can be downloaded here:
USWR Box Fin Template [pdf]
Gallery
Step 3: Cut out the Fins:
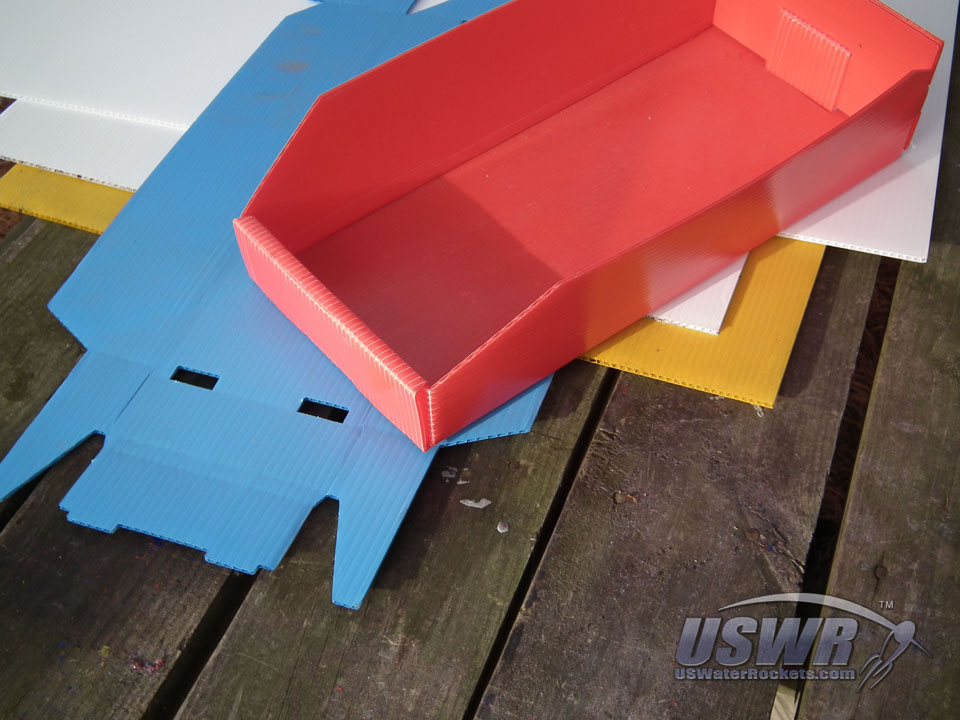
Trace the fin template shape three times onto your fin material. In this case we use a lightweight plastic material known by the trade name "Corriflute". Once we have traced the fin shape onto our fins, we can cut them out using a sharp knife. Please see our [Water Rocket Corriflute Recycling Tutorial] for ideas where to get corriflute material at low cost.You should have 3 identical fins at this point.
Step 4: Tape the leading and trailing edges of the fins:
To improve the aerodynamics of our fins, we apply strips of tape along the edges. Any type of tape will work, but we prefer to use vinyl electrical tape or duct tape in matching colors. Duct tape is generally much wider than needed for this application, so we cut the strips lengthwise so they are narrower and less weight is added.Optionally, you can place a wooden dowel or a small straw (like the type sold to stir coffee) along the edges of the corriflute before you apply the tape strips. This will form a more uniform and rounded fin edge which will improve the aerodynamics of the fins.
In either case you will center the tape strip along each edge and fold it neatly around the sides of the fins and then trim off any excess tape that overhangs the corners.
Gallery
Step 5: Adding the Fin Mounting Strips:
To mount the fins to the rocket, you will be using hook and loop (Velcro) adhesive tape. Cut equal length strips of hook tape and loop tape, one pair for each fin. Take 3 strips of the same type (hook or loop) and apply them to the centerline of each fin along the length. Press the tape firmly down.We prefer this method for mounting the fins because the fins can easily be moved from one rocket to another, and the fins are held secure without needing any kind of brackets or tricks. Most competitions forbid the use of metal structure on water rockets, many fin examples can be found that would be illegal for competitions because they get around the fact that corriflute plastic cannot be glued with traditional adhesives. There are some glues which work on these plastics [See Water Rocket Bottle Coupler Tutorial]. The Velcro method is easier and stronger than the alternatives.
Gallery
Step 6: Forming the Fin Box:
Place your fins tip to tip, with the Velcro side facing down and use more strips of electrical tape or Duct tape to tape the fin box together. Tape the mated edges first and then pick up the fins and fold the last edge together and apply tape. The fin box has the triangular shape we desire and because of the box nature of these fins they will automatically be aligned and resist damage or flapping in the air flow.Gallery
Step 7: Mounting the Box Fins:
Slide your box fin assembly over the rocket in the area where you want to locate the fin section and mark the bottle with a pen at the location of each fin where it touches the rocket bottle. Since the box fins form a perfect triangle the contact points will be perfectly spaces 1/3 the distance around the circumference of the bottle. Take the remaining Velcro adhesive tape and apply it to the sides of the rocket at the locations marked. Press the tape firmly onto the rocket body.Slide the box fins over the rocket, holding them spread apart so the Velcro does not touch. There should be enough flexibility in the fins to spread them sufficiently.
When the fins are located in the proper location on the bottle, release them so they flex back to their proper shape, causing the Velcro to mate together and connect the fins to the rocket body.
Gallery
Step 8: Adapting the Box Fins:
The box fins are now complete and ready for flight. In this example we have shown the most basic form of the box fin. The advantages of this design are the simplicity and the durability as well as the inherent fin alignment insured by the design.Please see [Enhancing the Removable Box Fin Design] for a more advanced version of this fin design which is adjustable for different rocket diameters. This tutorial also shows alternative mounting methods if you do not wish to use Velcro.
 Removable Box Fins by
U.S. Water Rockets is licensed under a Creative Commons Attribution-NonCommercial 3.0 Unported License.


