How to construct an Octagonal Parachute for your Water Rocket.
Introduction:
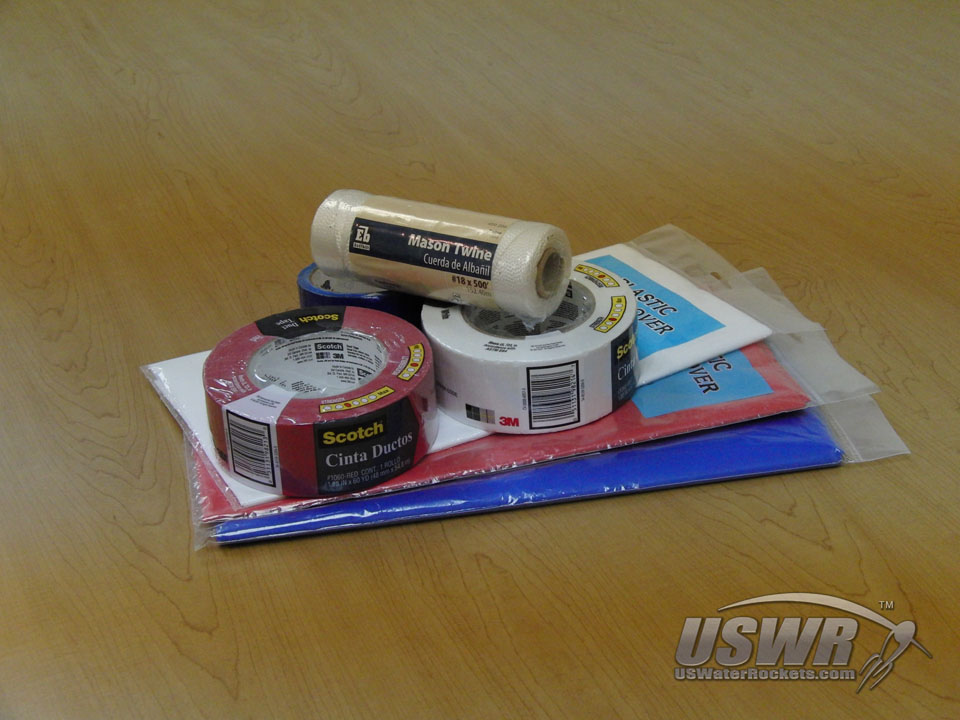
A strong and reliable parachute design is very important to anyone wishing to develop a water rocket with a recoverysystem. Any system from a simple Air Flap mechanism to the sophisticated ServoChron™ electronic deploy system relies on a well made parachute. This tutorial will reveal the secrets to easily making a parachute that will safely recover your water rockets.- Plastic material such as Trash Bags, Shower Curtains or Table Cloths.
- String or twine.
- Duct Tape.
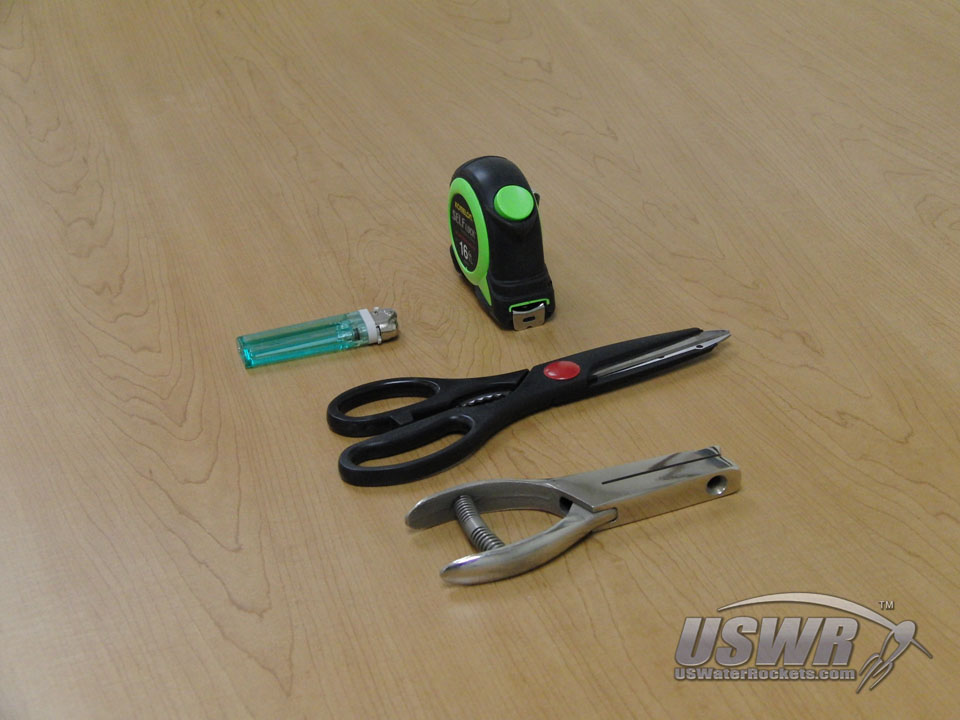
- Scissors.
- Ruler or Tape Measure.
- Hole Punch Tool.
- Hole Punch Tool.
Materials Required:
Tools Required:
Related Tutorials:
Instructions to build and use the ServoChron™ 2 deployment timer. If you would like to build an Altimeter to deploy your parachute at apogee, you can find the complete building instructions, tutorial and text videos at this link:
Instructions to build and use the LaunchPad AlTImeter 2 which can deploy your parachute at apogee. If you would like to build a Parachute Deploy Mechanism to eject your paracute, you can find the complete building instructions and tutorial and test videos using these links:
Water Rocket Radial Parachute Deploy System Tutorial.
Water Rocket Axial Parachute Deploy System Tutorial. Water Rocket Hybrid Parachute Deploy System Tutorial.
Step 1: Cut your Parachute Material to size:
Measure and cut out a square piece of your parachute plastic material with the sides equal in length to the desired diameter of your parachute. Make sure the material is perfectly square or else the parachute may not be balanced correctly and could spin when descending.Step 2: Make First Fold:
With the square of parachute material placed on a flat surface in front of you, grasp the bottom edge of the material and fold the square in half, bringing the bottom edge to the top edge. The material will now resemble a rectangle. Flatten the material, removing all air bubbles and making a sharp crease at the folded edge. ...Step 3: Make Second Fold:
Take the left edge of the folded material, and fold it neatly in half from left to right until the left edge lines up with the right edge. The material will once again resemble a square. Flatten the material, removing all air bubbles and making a sharp crease at the folded edge.Gallery
Step 5: Making the Final Fold:
Fold the left edge of the resulting triangle and fold it diagonally until the left edge lines up with the diagonal fold created by step 4. Flatten the material again, removing all air bubbles and making a sharp crease at the folded edge.Step 6: Cutting away the excess material:
At the upper right side of the parachute material you have just folded will be a clearly defined triangular section of excess material which needs to be cut off. Cut along the line indicated with a pair of sharp scissors.Step 7: Unfold the Parachute Material:
You can now unfold the parachute material which will now have the shape of a perfect octagon. Flatten the plastic material and remove the crease marks from the folding process with your hand.Step 8: Cutting the Parachute Shroud Lines:
You will need to cut four sections of string to create the shroud lines for your parachute. The shroud lines should be twice as long as the diameter of your parachute for good results.Choose a good braided string for your parachute shrouds. Simple twisted string has a tendency to untwist after a period of time and this can lead to fraying or tangling of the shrouds. See the image gallery to the left of this step for close-up examples of good braided string versus a poor twisted string choice.
Gallery
Step 9: Fusing the shroud lines:
If you have used nylon string for your parachute, you may wish to optionally singe the ends of each shroud line to fuse the strands together. This step prevents the nylon strands from coming apart and makes for a neater looking parachute. To fuse the strands, hold each end briefly in the flame of your lighter until they fuse together.Gallery
Step 10: Reinforcing the Shroud Attachment Points:
You must reinforce the points where the shroud lines connect to your parachute to avoid the problem of ripping the shroud lines from the parachute during a hard deploy. To reinforce these points and protect them from ripping, you will apply a strip of Duct Tape to each corner of the octagonal parachute material, and fold it over so that it covers both sides of the parachute material. You can then cut off the excess material if you want to clean up the corner appearance.Gallery
Step 11: Attaching the Shroud Lines:
Using a hole punch tool, create a hole in each corner of the parachute and then tie a the shroud lines so that each shroud line connect two opposite corners of the octagon.Gallery
Finish:
The parachute is now complete and ready to be connected to your Water Rocket. A few additional tips will help your parachute last longer and function better:- Never store your parachute in the stowed position in your water rocket. The materials will "remember" the folded position after being held there for a period of time and it will resist easily opening. When you store your rockets, store the parachutes on a flat surface or drape them over the nose of the rocket.
- If you sprinkle your parachute with talcum powder before packing it in your rocket, it will deploy easier because the powder will lubricate the material making it easier to unfurl.
- Try to launch your rockets as vertically as possible. If you launch at an angle the rocket will fly in an arc and it will be moving at considerable speed when the parachute deploys. This can damage the parachute.
Gallery
 Water Rocket Octagonal Parachute Tutorial by
U.S. Water Rockets is licensed under a Creative Commons Attribution-NonCommercial 3.0 Unported License.


