


How to Remove Labels and Prepare Bottles for building Water Rockets.
Introduction:
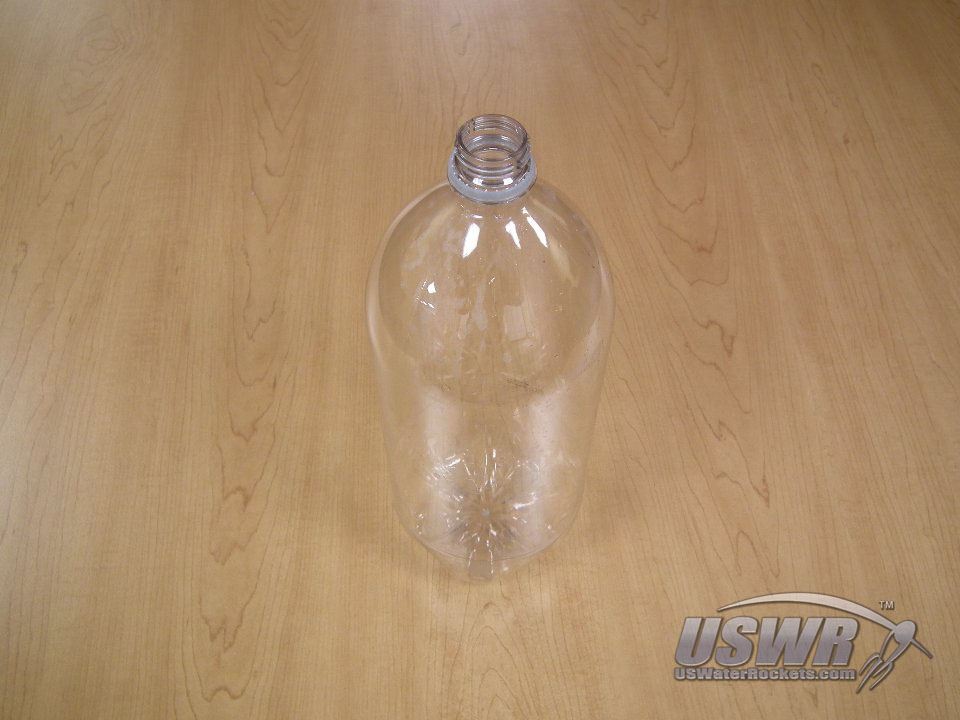
This tutorial will show you how to prepare your bottles for Water Rocket Construction. Before you begin building water rockets from bottles, they must be properly prepared. Failing to do so can result in the rocket leaking or exploding under use, or may shorten the longevity of your rocket. If this method does not work well, we suggest you try the method described in our other bottle preparation tutorial. Tutorial 21: Water Rocket Bottle Label Removal and Preparation V2. To prepare your bottles, the labels and glue must be removed, and the bottles must be cleaned of all contamination from their contents and oils left from manufacturing or handling.Clean bottles also simply make for nicer looking rockets as well.
Tools and Materials Required:
-
Materials Required:
- Plenty of bottles
- Paper Towels
- Solvent (the type depends on the label type on your bottles)
- Dishwashing Detergent
- Water
-
Tools Required:
- Scissors
- Rubber gloves
- A sharp knife
Step 1:
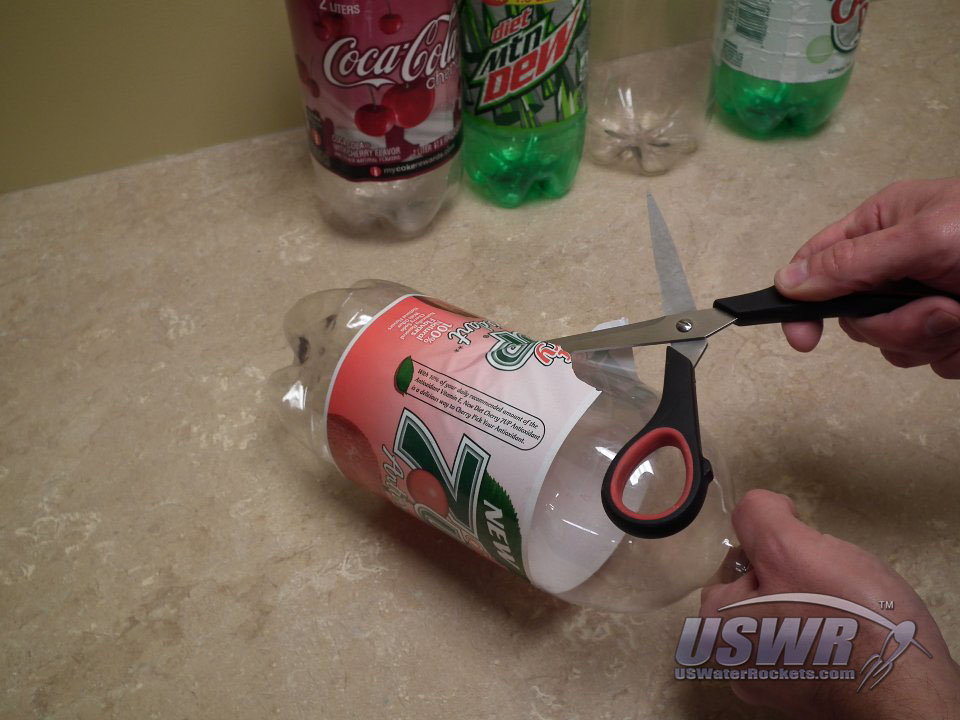
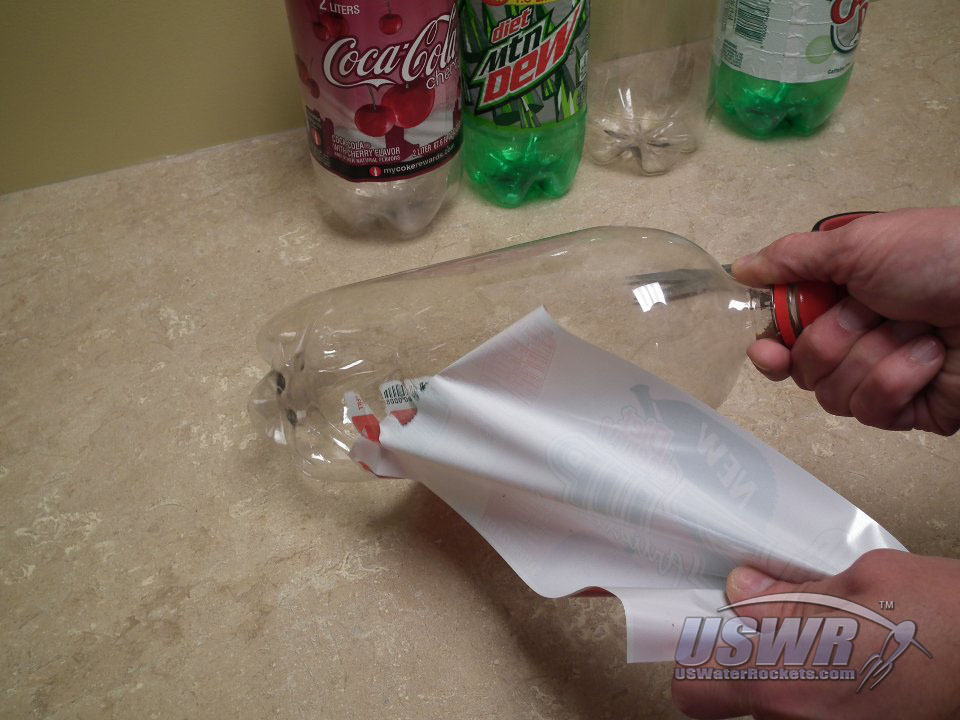
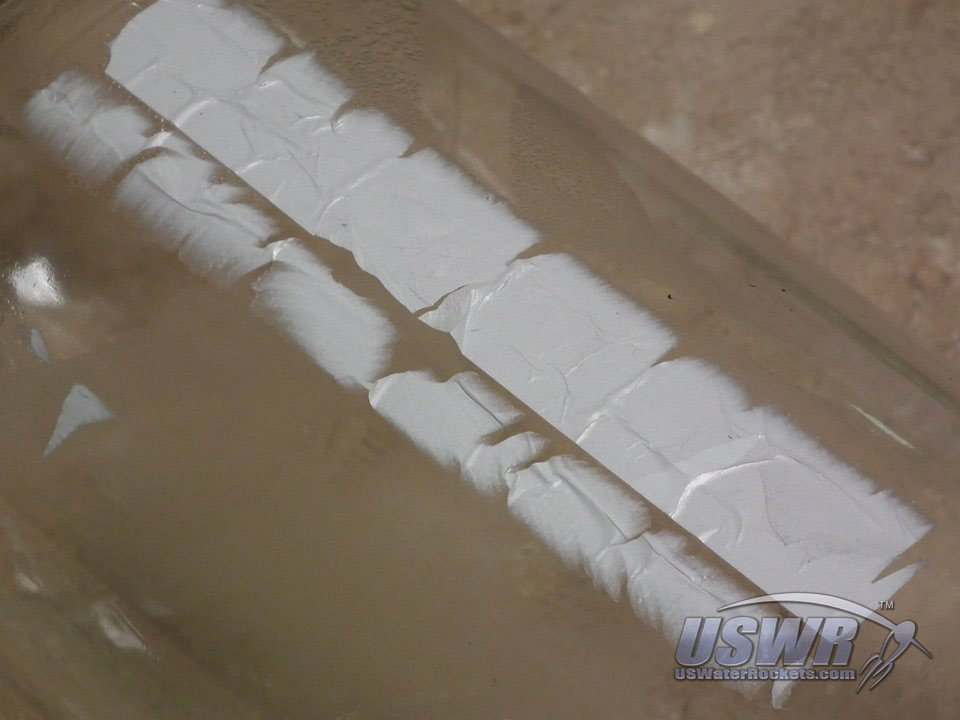
Using your knife or scissors, slice the label vertically down the entire length and peel as much of the label as you can off the bottle. Some labels will peel off completely, leaving only a glue residue behind. Newer bottles have a laminated plastic shrink-wrap label that delaminates when peeled off. The delamination leaves a pearl white material adhered to the bottle which is very difficult to remove. If you think you have this new type of label material, you may skip ahead to Step #3, because every other method will be frustratingly slow and labor intensive.Gallery
Step 2:
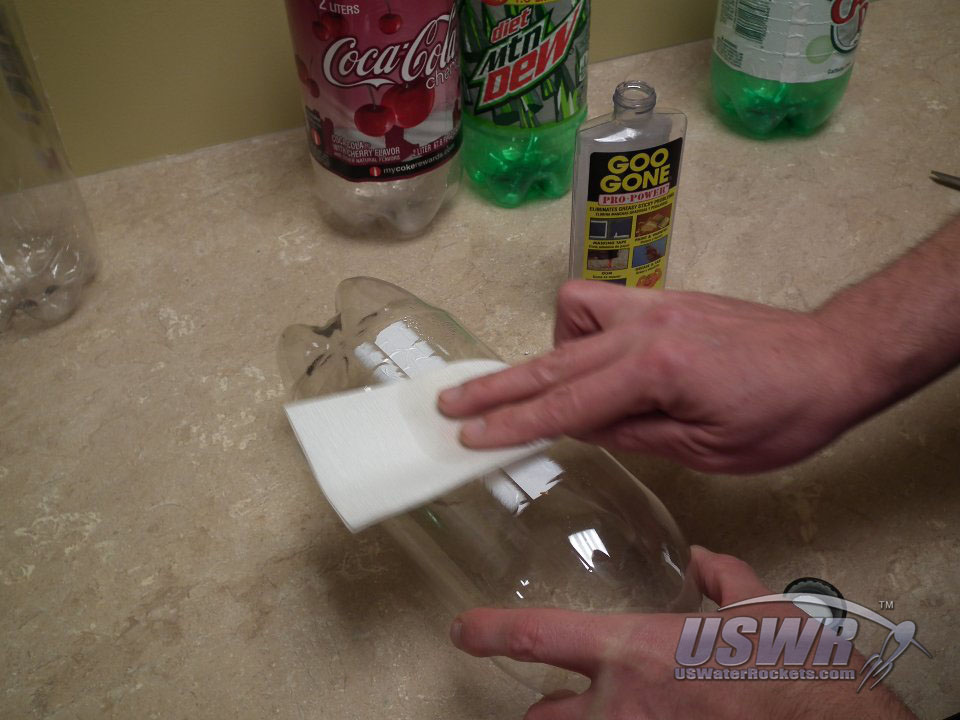
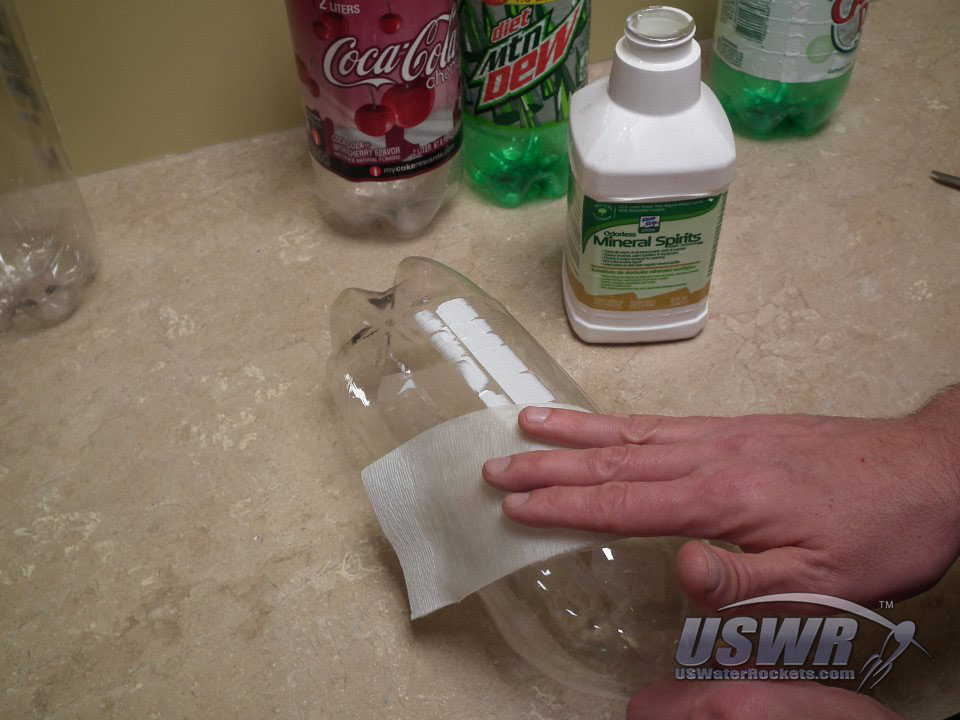
If you are unfamiliar with the type of glue a particular bottle uses, you may want to try the common methods for removing labels which have been worked in the past. You can test commercial glue removal products such as "Goo Gone". If that fails to remove the label you should test and see if mineral spirits will work. If the glue is stubborn and requires a lot of rubbing and scraping to get off the bottle, then you may want to try using acetone. If any of these methods is successful at removing the label, you can skip ahead to Step #6.If all of these methods prove difficult or time consuming then proceed to Step #3 for an easy solution to these difficult labels. ...
Gallery

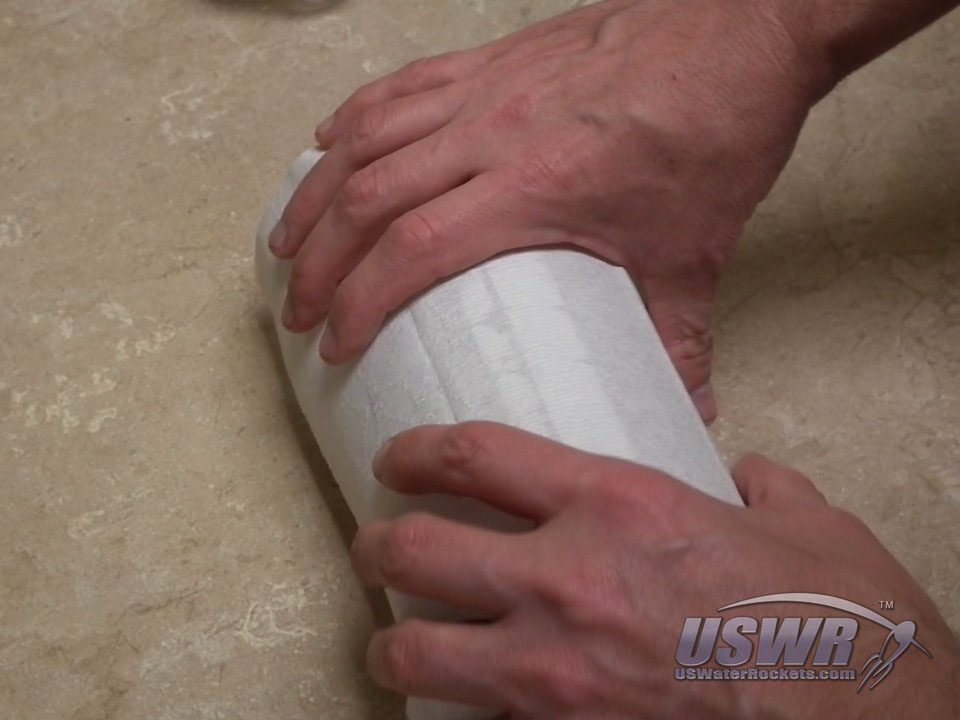
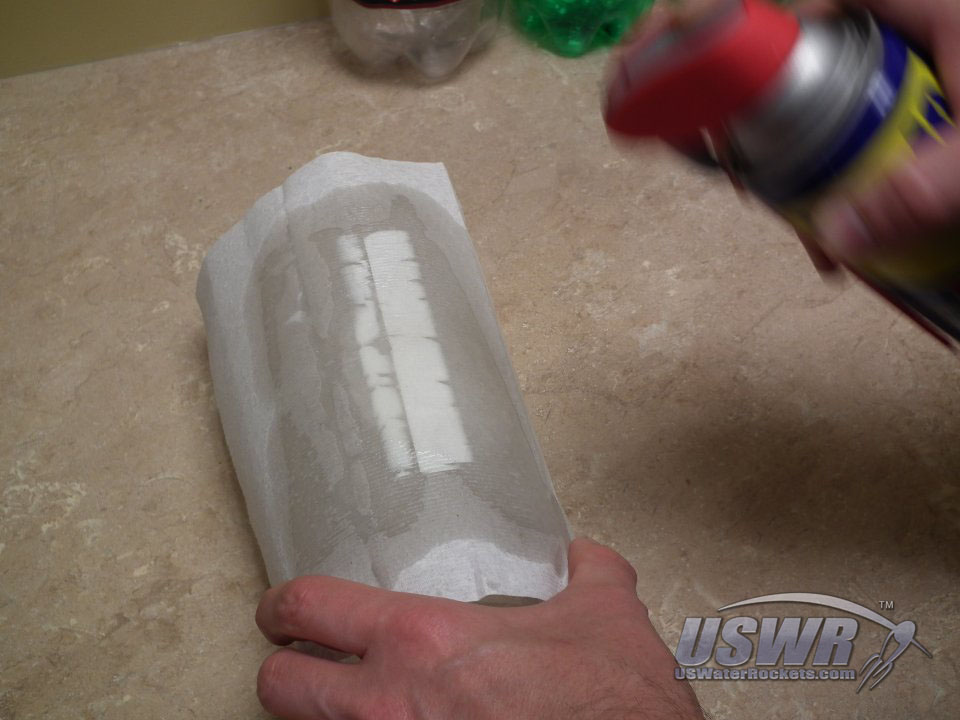
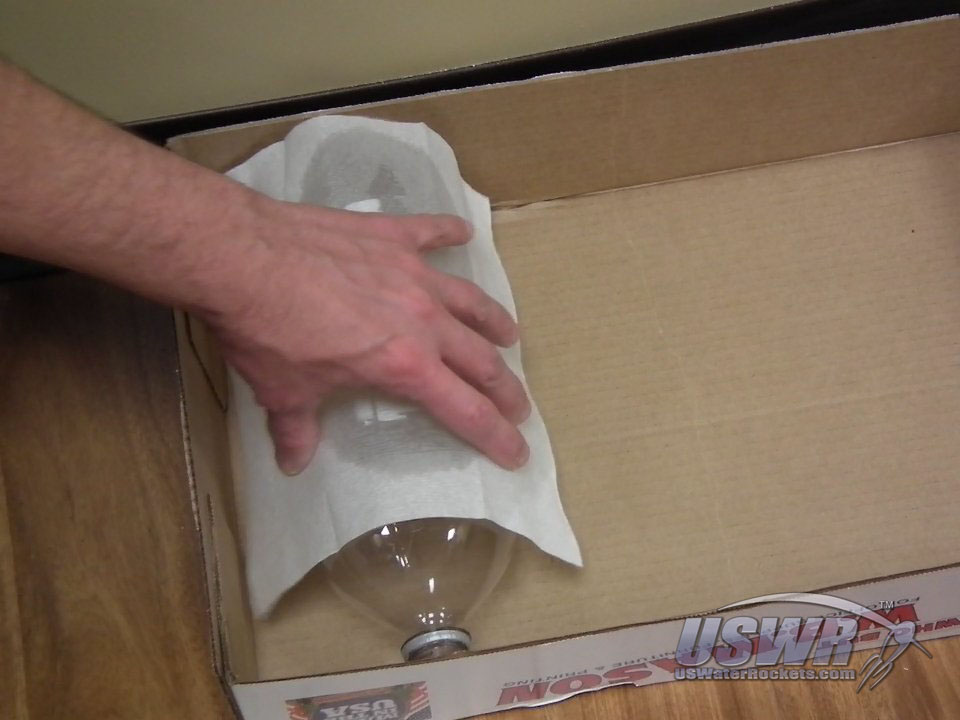
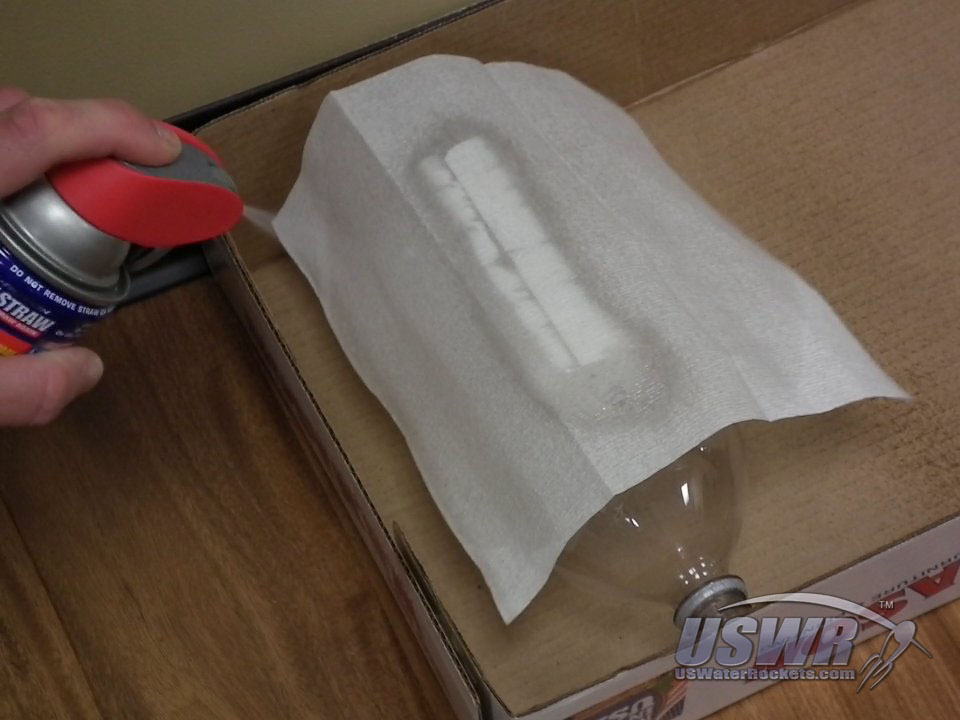
Step 3:
Wrap the bottle with a paper towel or napkin covering the label and glue completely, then spray the area covering the stubborn label/glue with WD-40 until it is completely soaked. Set the bottle aside (be careful to protect floors and furniture from any WD-40 that may drip off).Gallery
Step 4:
Allow the bottle to sit for a few hours. The longer you wait, the easier the label will come off, so if you wait 24 hours the remaining work will be radically reduced, so be patient while the WD-40 does its work. Periodically check the paper on the bottles and if the WD-40 evaporates or is absorbed by the glue you should spray some more on to keep it wet.Gallery
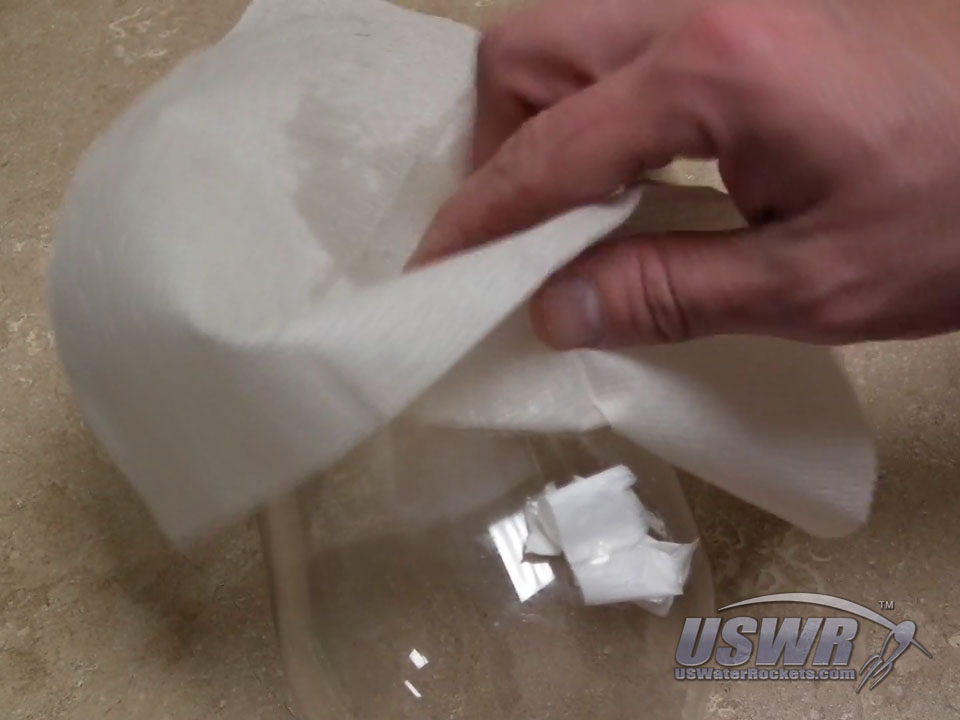
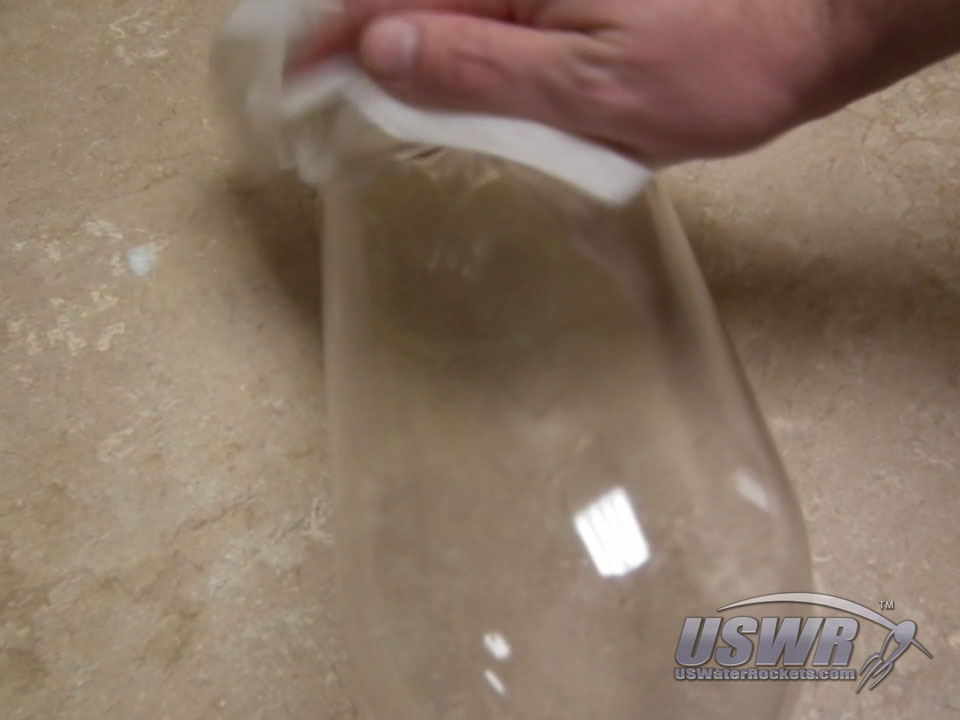
Step 5:
The next day you should find that the WD-40 has penetrated the stubborn label remnants and dissolved the glue holding it on. You should be able to wipe the label right off using the WD-40 soaked paper towel. Wipe the bottle until all traces are gone.Gallery
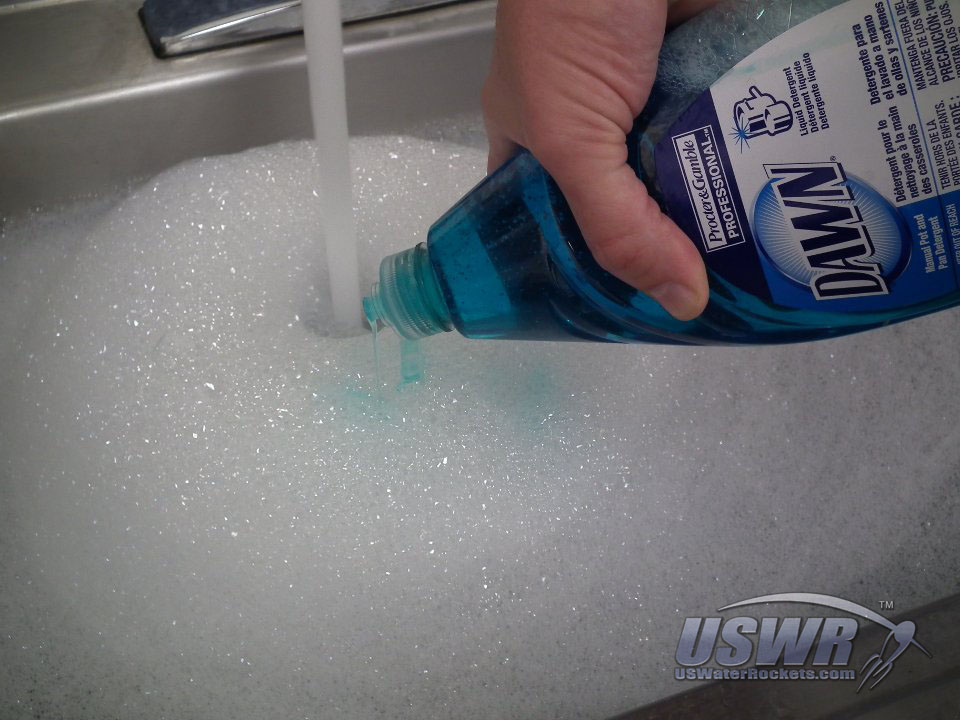
Step 6:
Fill a sink or bucket with warm water and add in a liberal amount of strong grease cutting dishwashing detergent. Wash each bottle completely in the soapy bath to remove all traces of the glue or glue removing chemicals. This will also remove oils from your fingers which can affect the ability of glues to adhere to the bottles. This is a good time to also wash and rinse out the inside of the bottles, to remove any leftover residue from the contents that may be left behind. Completely rinse the bottles using clean fresh water to eliminate any soap left behind.Gallery


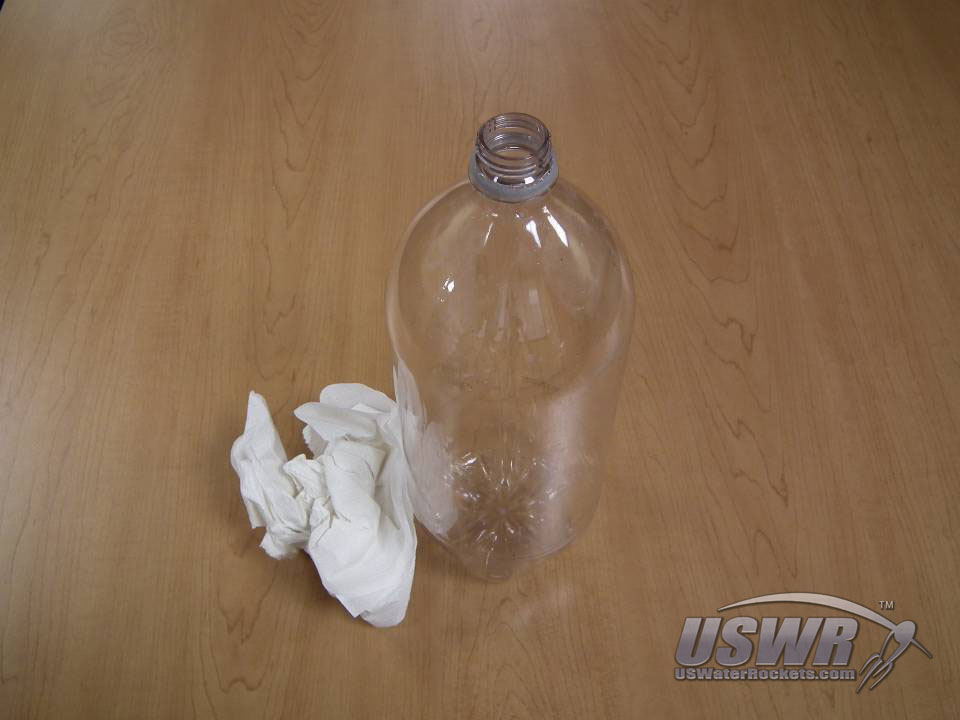
Step 7:
Shake out as much of the water as possible and then dry your bottle with clean paper towels. This concludes the tutorial. Your bottles are now fully prepared for transformation into a water rocket!Gallery

 Bottle Label Removal and Preparation Tutorial by
U.S. Water Rockets is licensed under a Creative Commons Attribution-NonCommercial 3.0 Unported License.
Bottle Label Removal and Preparation Tutorial by
U.S. Water Rockets is licensed under a Creative Commons Attribution-NonCommercial 3.0 Unported License.