


How to construct a nosecone for your water rocket
Introduction:
One of the most important components you will build for your water rocket is the nosecone. The shape of the nosecone can make the difference between an average performing water rocket and a high performance water rocket. The nosecone design has a profound effect on the amount of aerodynamic drag the rocket has. The less drag, the better the rocket will perform.Of course, the nosecone is also an important component in determining the appearance of your rocket as well. This tutorial will explain how to build a good looking nosecone that performs great too.
Tools and Materials Required:
- Bottle
- Glue
- Nosecone tip (plastic egg or something similar)
- Tools Required:
- Scissors
- Hobby Knife
- Felt-Tipped Marking Pen
- Paper Towels
- Rubbing Alcohol or Mineral Spirits
- Paper
- Circular object such as a pipe fitting or tube
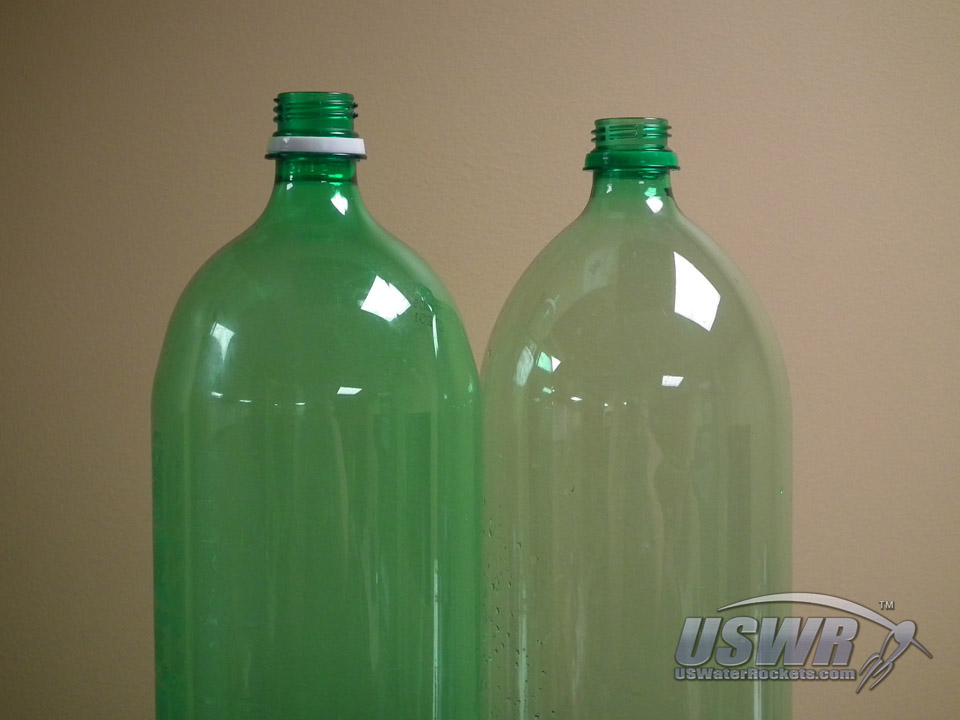
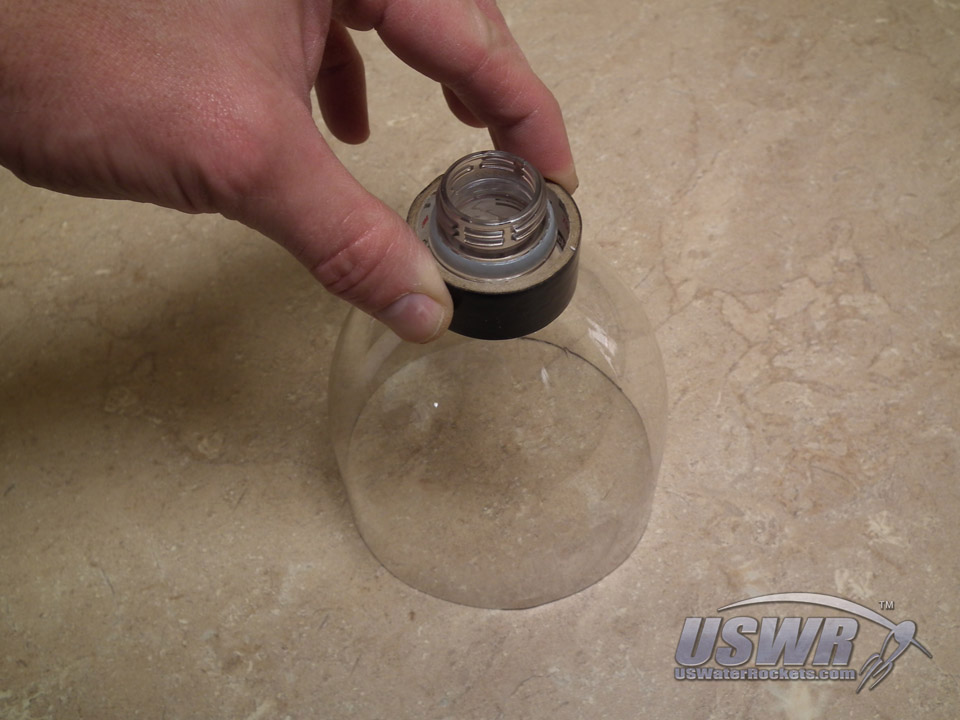
Step 1: Picking a bottle:
When choosing a bottle to use as the nosecone of your water rocket, you should look for a bottle with a simple transition from the neck to the walls of the bottle. Some bottles have decorative texturing or compound curves which will make it difficult to mount a tip on the nosecone. In this photograph we can see a complex curve on the left and a simpler curve on the right. We chose the bottle on the right.Gallery
Step 2: Sizing up the nosecone:
As seen in the Bottle Cutting Tutorial we can draw a perfect cut line if we wrap the bottle with a sheet of paper and use the edge of the paper to draw a perfect cut line on the bottle at the base of the nosecone. The height of the nosecone is up to you. You may want a taller nosecone so you can place a parachute or camera under it.Gallery


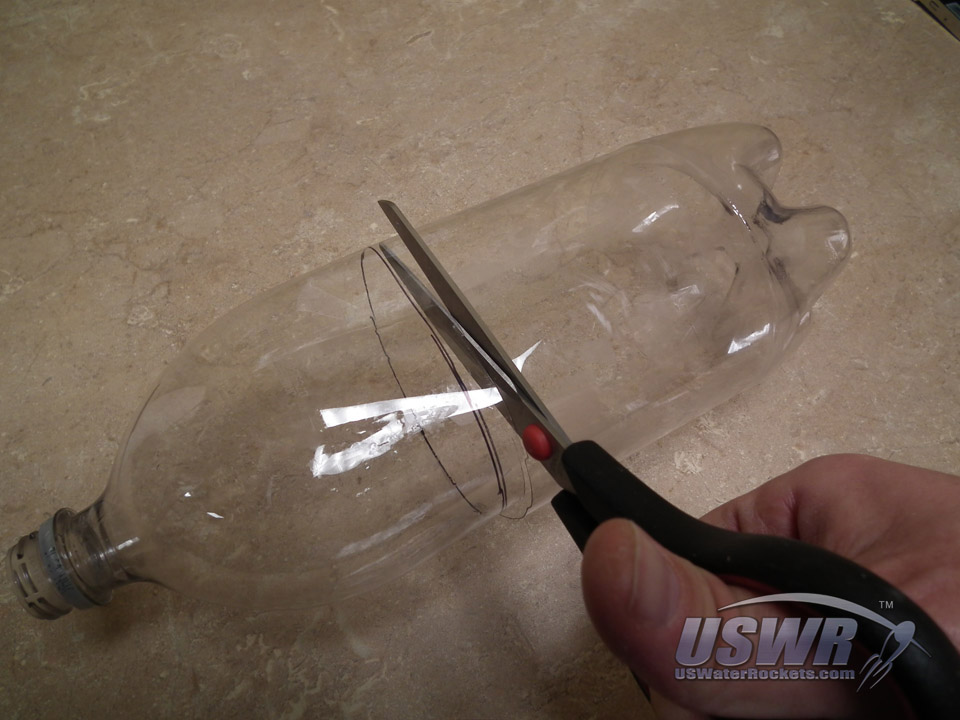
Step 3: Cutting the nosecone:
As seen in the Bottle Cutting Tutorial we cut the nosecone neatly off the bottle and discard the base of the bottle.Gallery

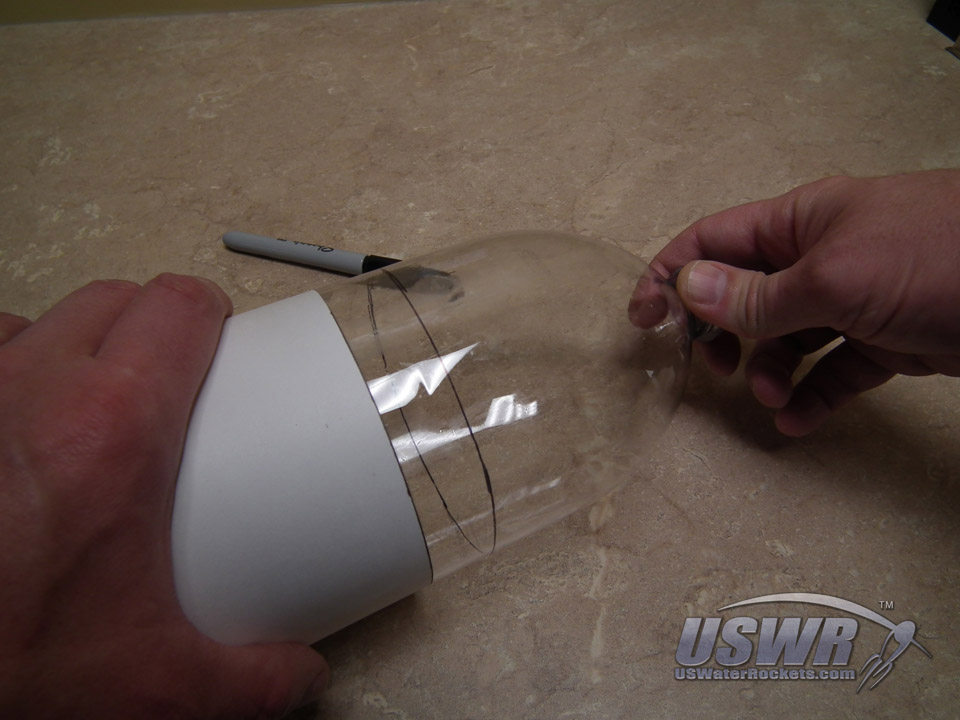
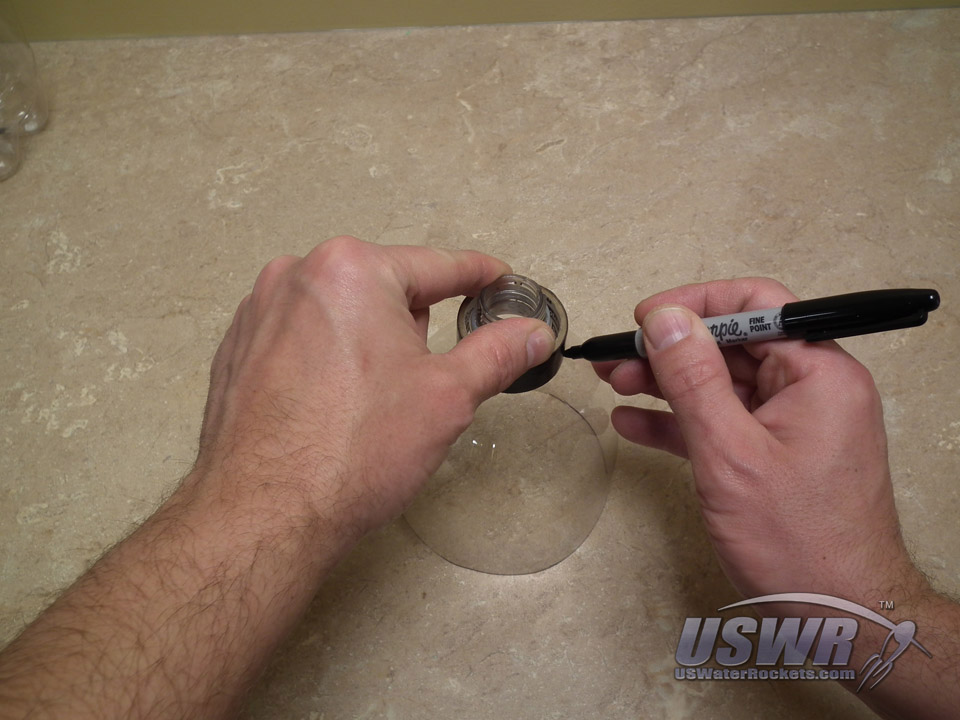
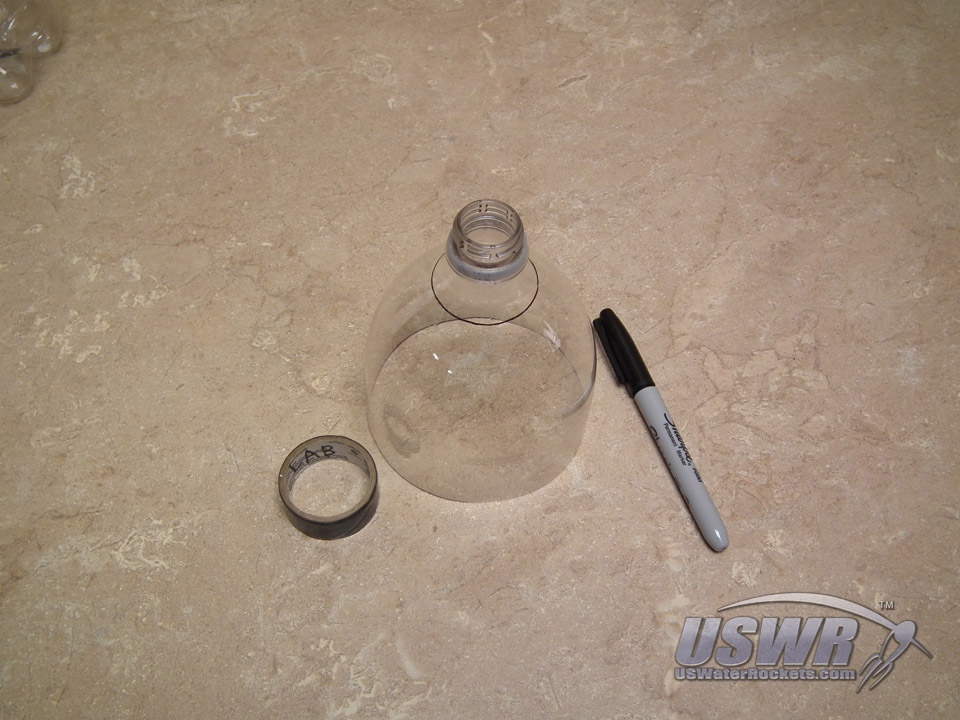
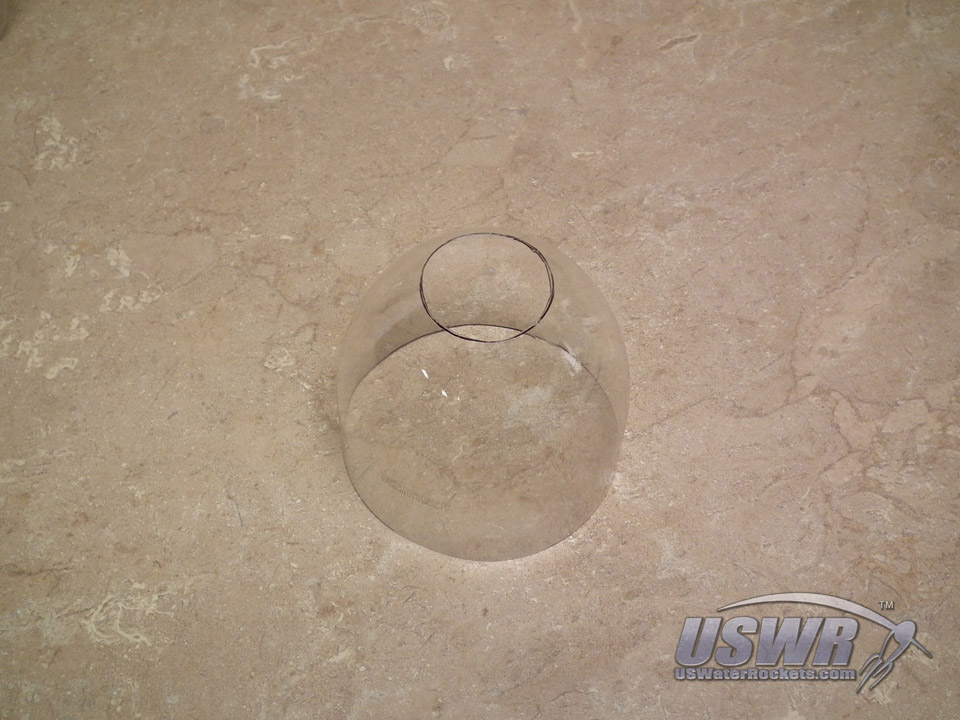
Step 4: Drawing a cut line for the neck:
We now need to cut the neck off the bottle so that we can mount a tip on the nosecone. To remove the neck neatly, we mark a new cut line by placing a circular object over the neck and tracing the cut line. Look for a PVC pipe fitting, or a mailing tube that will fit over the neck and trace the cut line.Gallery

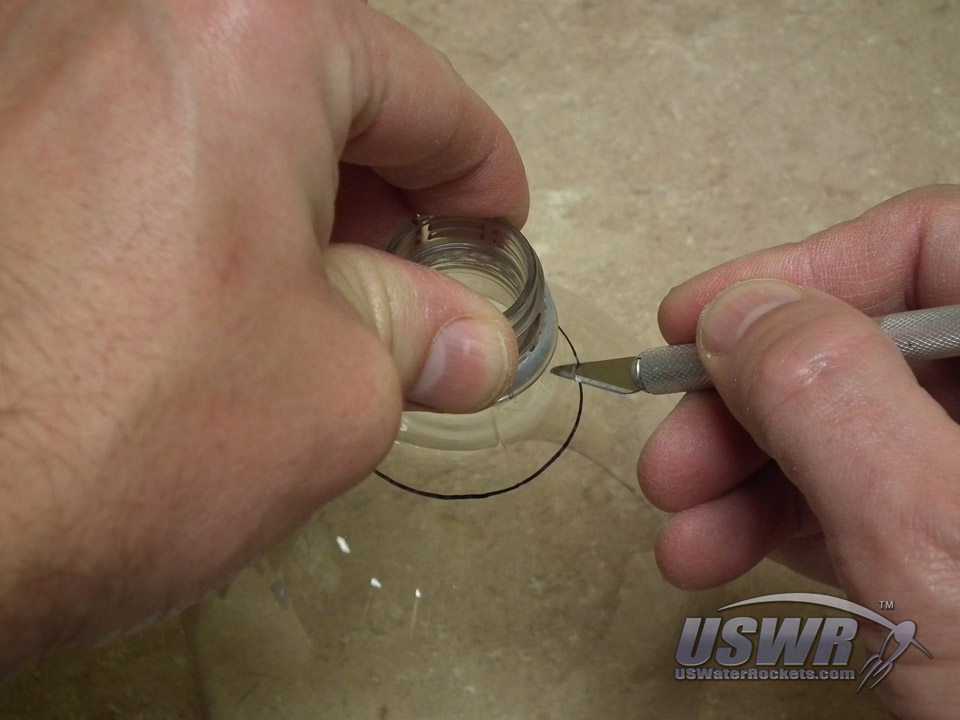
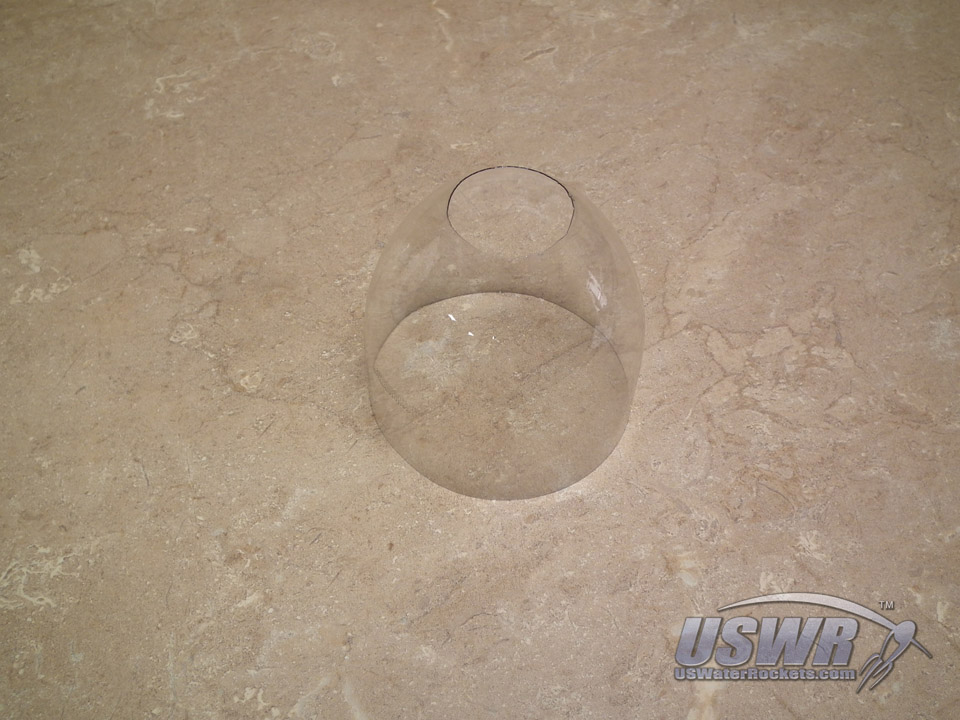
Step 5: Cutting off the neck:
Using a sharp hobby knife, carefully cut along the new cut line and remove the bottle neck. make sure to trim the hole as neatly as possible.Gallery
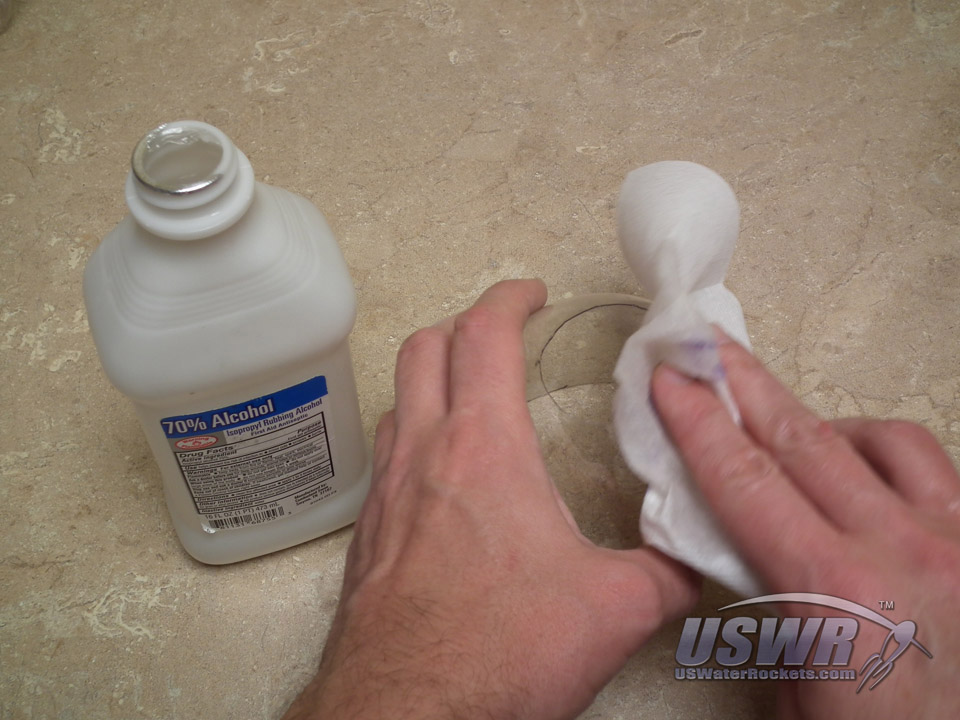
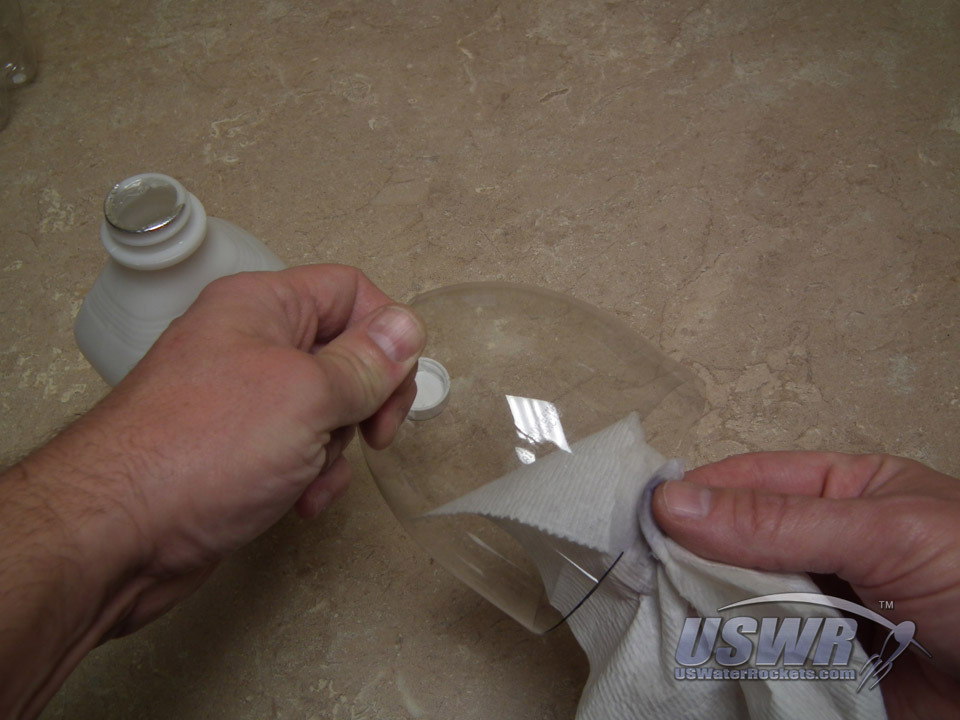
Step 6: Clean off the cut lines:
Using a paper towel soaked in rubbing alcohol or mineral spirits, clean off any traces of the cut line ink that remain on your nosecone.Gallery
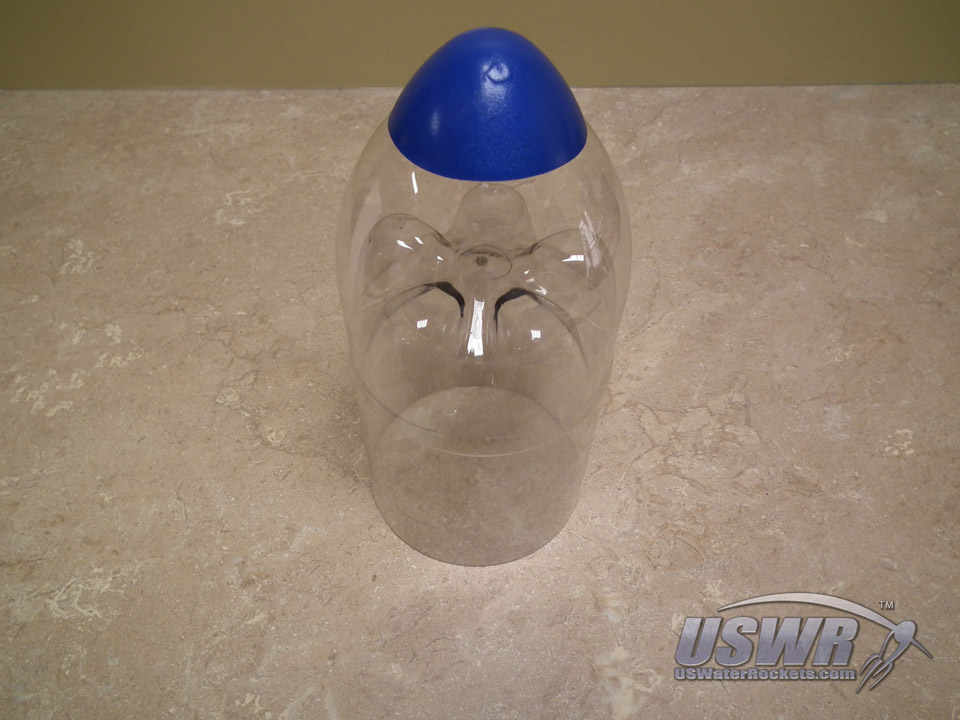
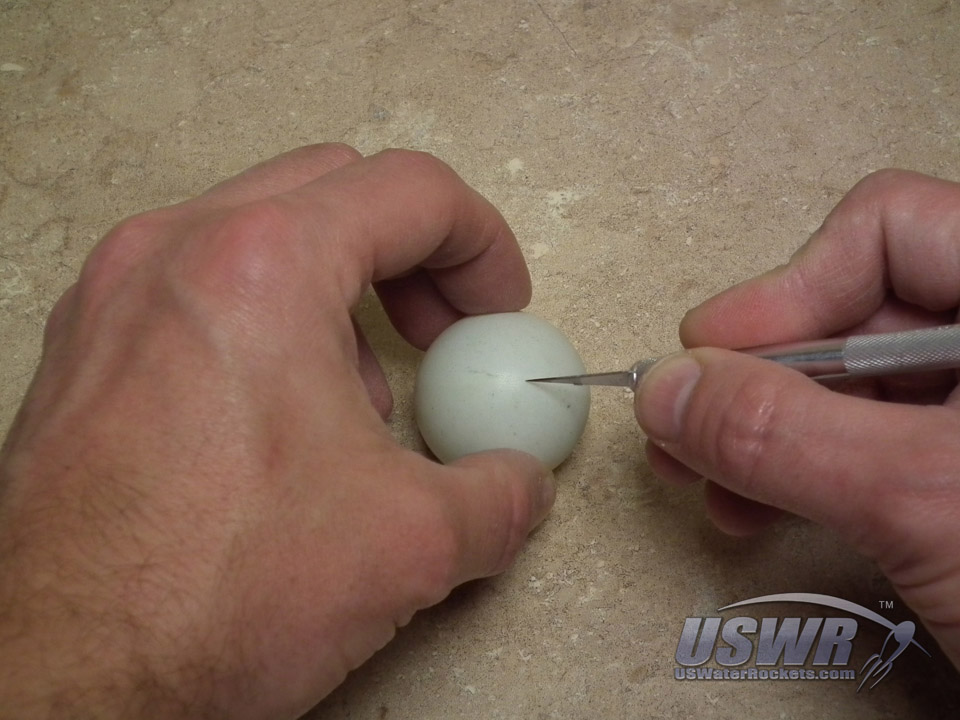
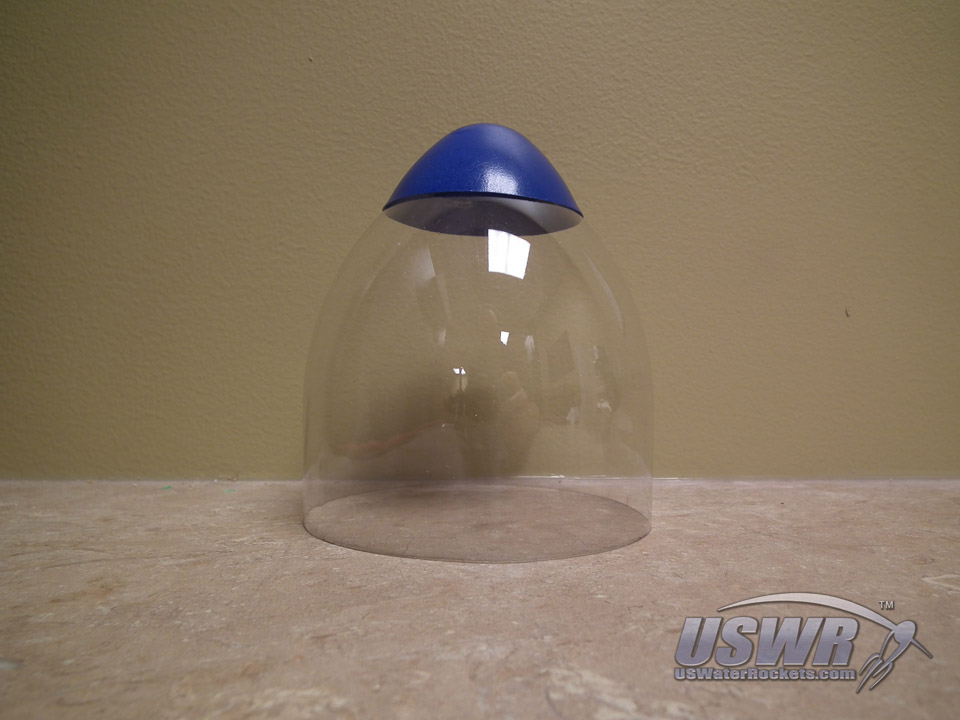
Step 7: A good tip:
Find a rounded tip for your nosecone and trim it to fit either inside or outside of the hole in the nosecone. There are plenty of plastic sphere or egg shaped toys and packaging bits that you can choose from to make a nosecone tip. We have found that large plastic eggs sold for the Easter holiday make a perfect tip for our bottles. Some people find that rubber balls or ping-pong balls make good nosecone tips as well.Gallery


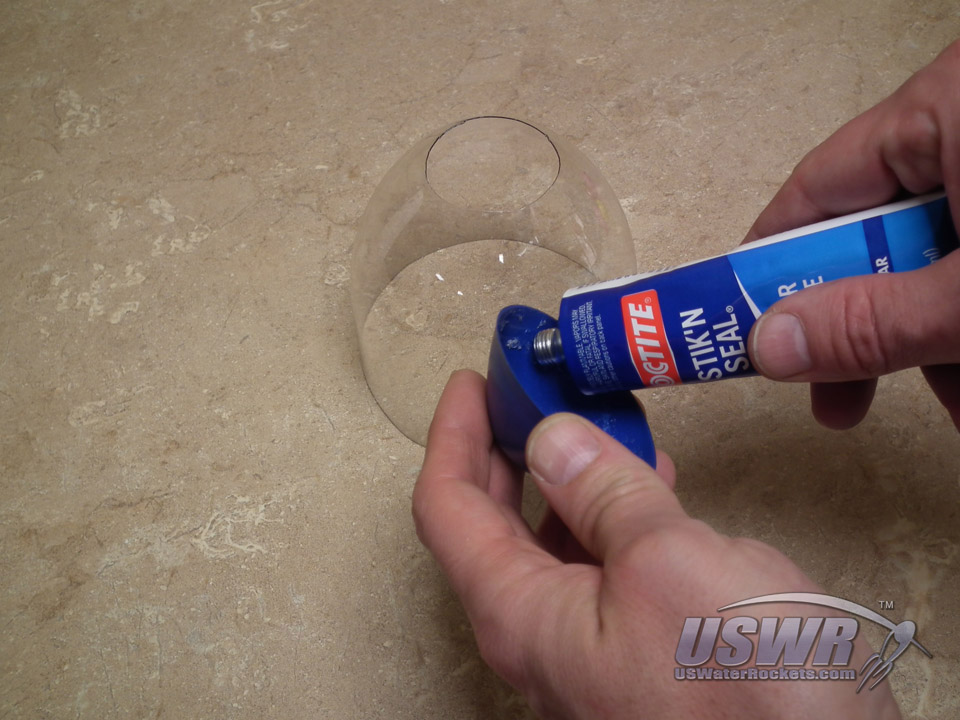
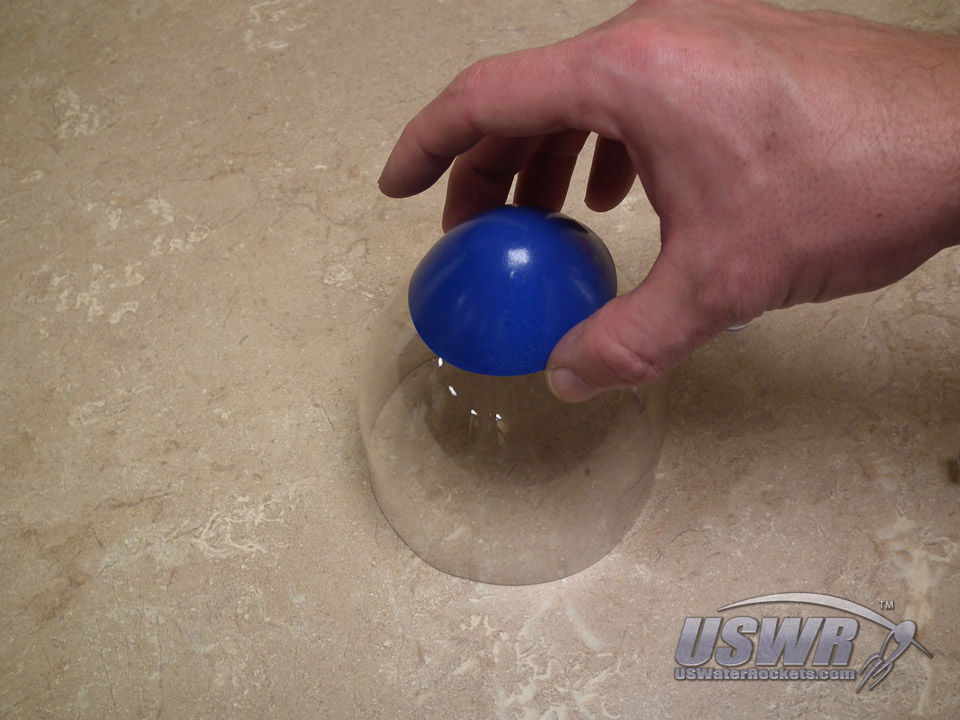
Step 8: Glue the tip:
We now need to cut the neck off the bottle so that we can mount a tip on the nosecone. To remove the neck neatly, we mark a new cut line by placing a circular object over the neck and tracing the cut line. Look for a PVC pipe fitting, or a mailing tube that will fit over the neck and trace the cut line.Gallery

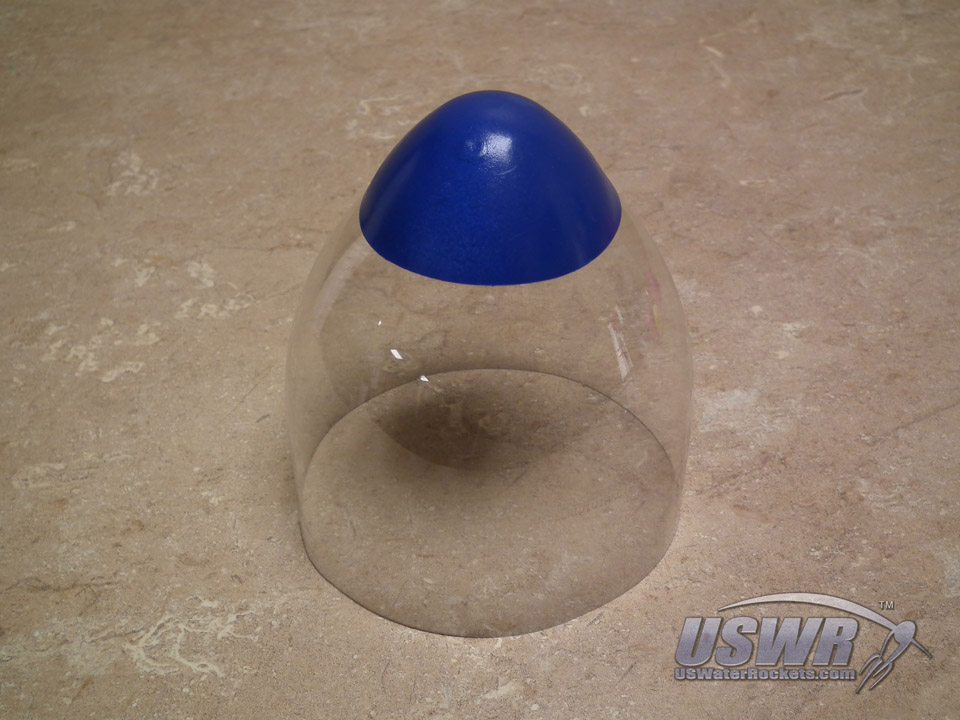
Finish:
Our nosecone is finished and ready to mount on a water rocket.Gallery
 Water Rocket Nosecone Construction by
U.S. Water Rockets is licensed under a Creative Commons Attribution-NonCommercial 3.0 Unported License.
Water Rocket Nosecone Construction by
U.S. Water Rockets is licensed under a Creative Commons Attribution-NonCommercial 3.0 Unported License.