How to Make a Gardena Launcher for Water Rockets
Introduction:
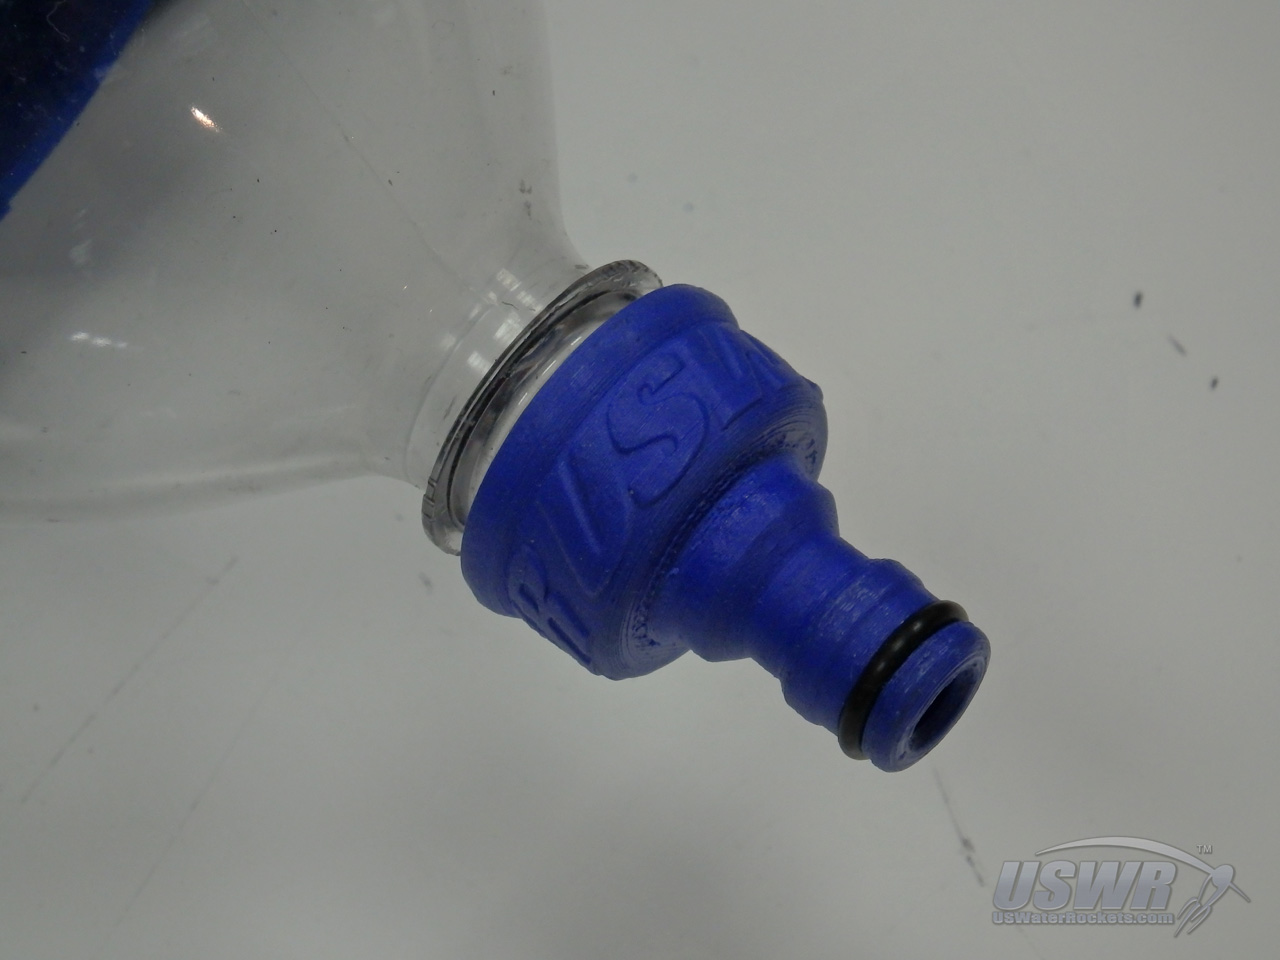
A number of people who have hand-made Gardena nozzles or have downloaded our 3D printed water rocket nozzles from Thingiverse (http://www.thingiverse.com/thing:781367) have asked where they purchase a suitable launcher for them. We decided to make this quick tutorial showing how to make a compatible water rocket launcher that uses a gardena hose quick release connector for the release mechanism. This type of launcher also works with any standard gardena nozzle in addition to our 3D printed nozzle design. If you have all the materials on hand you should be able to build this launcher in an hour or less and be out launching water rockets in no time!Materials Required:
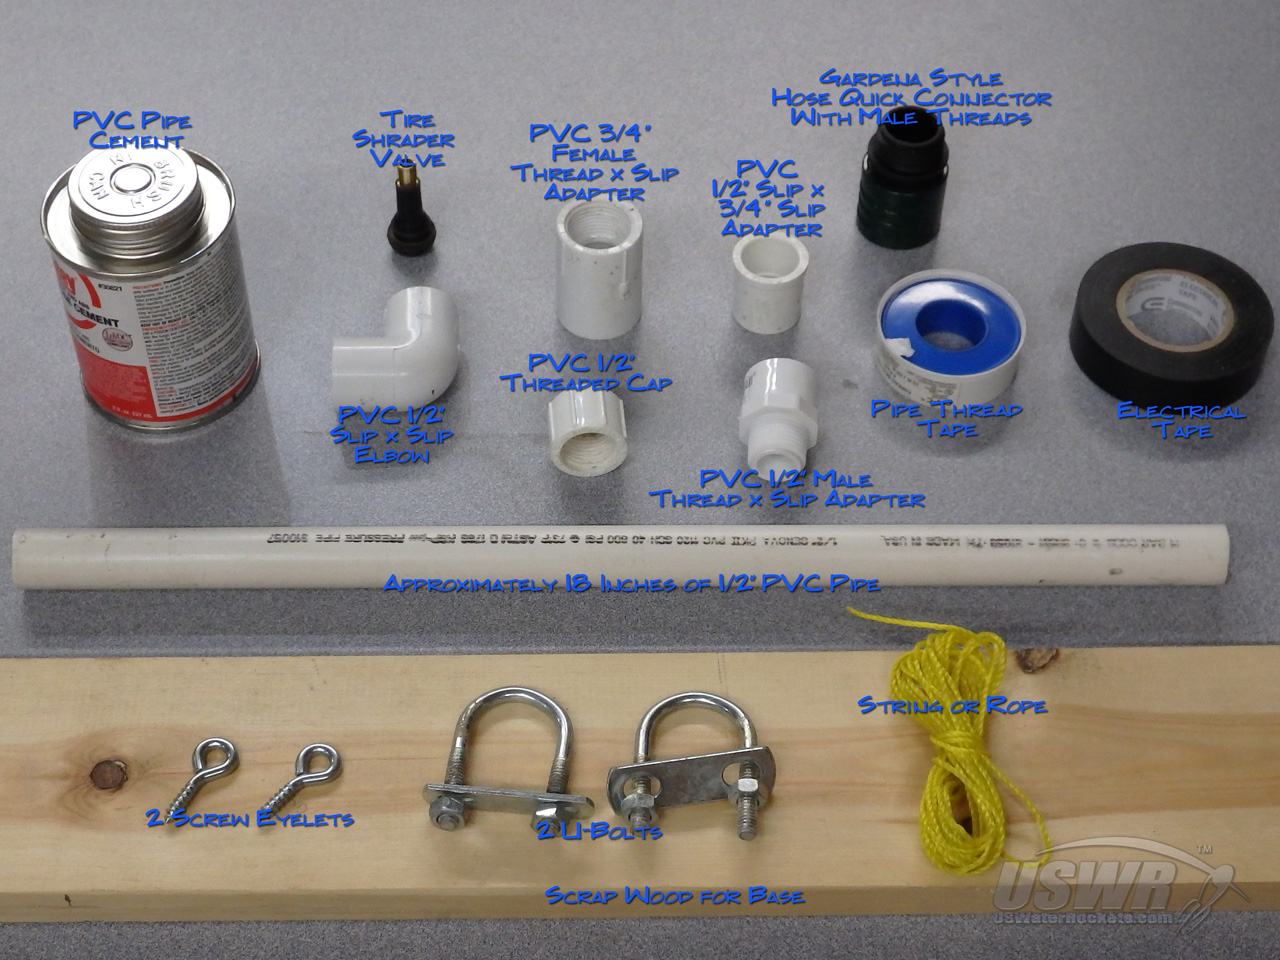
- PVC Pipe cement.
- A tire shrader valve.
- A 1/2" PVC Slip to Slip Elbow.
- A 3/4" Female Thread to Slip adapter.
- A Hose quick connector with male threads.
- A 1/2" slip to 3/4" slip adapter.
- A 1/2" female threaded cap.
- A 1/2" make thread to 1/2" slip adapter.
- Teflon thread tape.
- Electrical Tape.
- About 18" of 1/2" PVC pipe.
- Some scrap wood.
- Two screw eyelets.
- Two U bolts.
- Some String or thin rope.
Step 1:
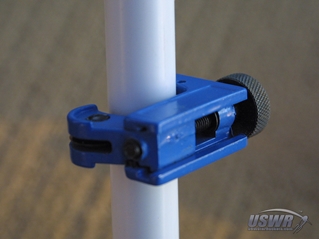
Begin by cutting two pieces of PVC pipe. One piece should be 10 or 12 inches long and the other one should be 2-3 inches long. The dimensions are not really that important.Step 2:
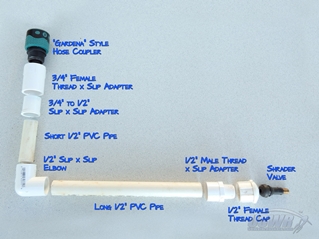
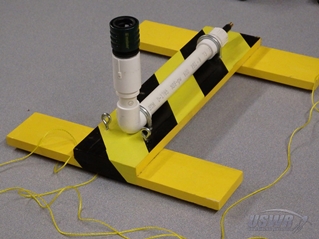
Assemble the PVC pipes and fittings together in the order shown in the diagram provided. If you live in the USA, you will find that the gardena threads do not match exactly the PVC fitting threads, but the teflon thread tape combined with some effort on your part will force the threads to mate, and it won't leak. ...Step 3:
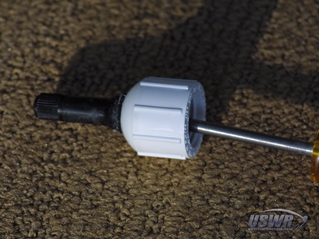
Mounting the shrader valve so you have a place to connect the air supply to the launcher is really easy. Take the 1/2" female threaded cap and drill an 8-10mm hole through the center of the end. Now you can push the shrader valve in from the inside. The trick to installing the shrader valve is to take a rod or a Philips screwdriver and push it into the hole at the bottom of the shrader valve and push it firmly from inside until it snaps in place. Then you can screw the cap onto the launcher.Gallery
Step 4:
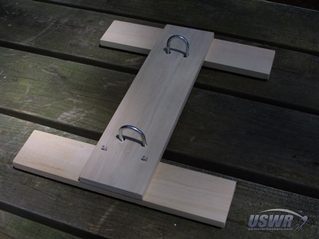
You need to also make a base to hold the launcher in the upright position. You will use the two U-bolts to secure the PVC pipes of the launcher to the base. You can use a piece of scrap lumber for the base, or you can build a more elaborate launcher base from wood or other materials. This part we leave to your imagination and creativity.Gallery
Step 5:
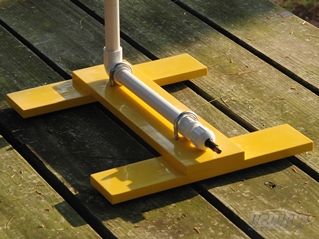
Here we have a nice painted and launcher base which we built some time ago for our Clark Cable Tie Launcher tutorial. If you want to make a base like this you can follow the link to that tutorial. When the launcher is mounted to the base with the U-bolts, be careful not to overtighten the U-bolts which can crack the PVC pipe.Gallery
Step 6:
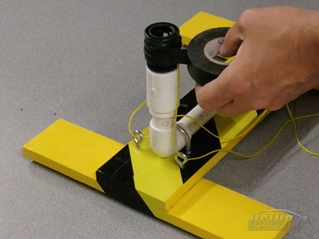
Place a screw eye on either side of the gardena release mechanism to contain and direct the release string.Step 7:
Use electrical tape to secure a length of string to either side of the release mechanism and through each screw eye. You can tie the remaining string to the release string to extend it so you can launch the rocket from a safe distance. Now when you pull the release, the rocket launches.Gallery
Step 8:
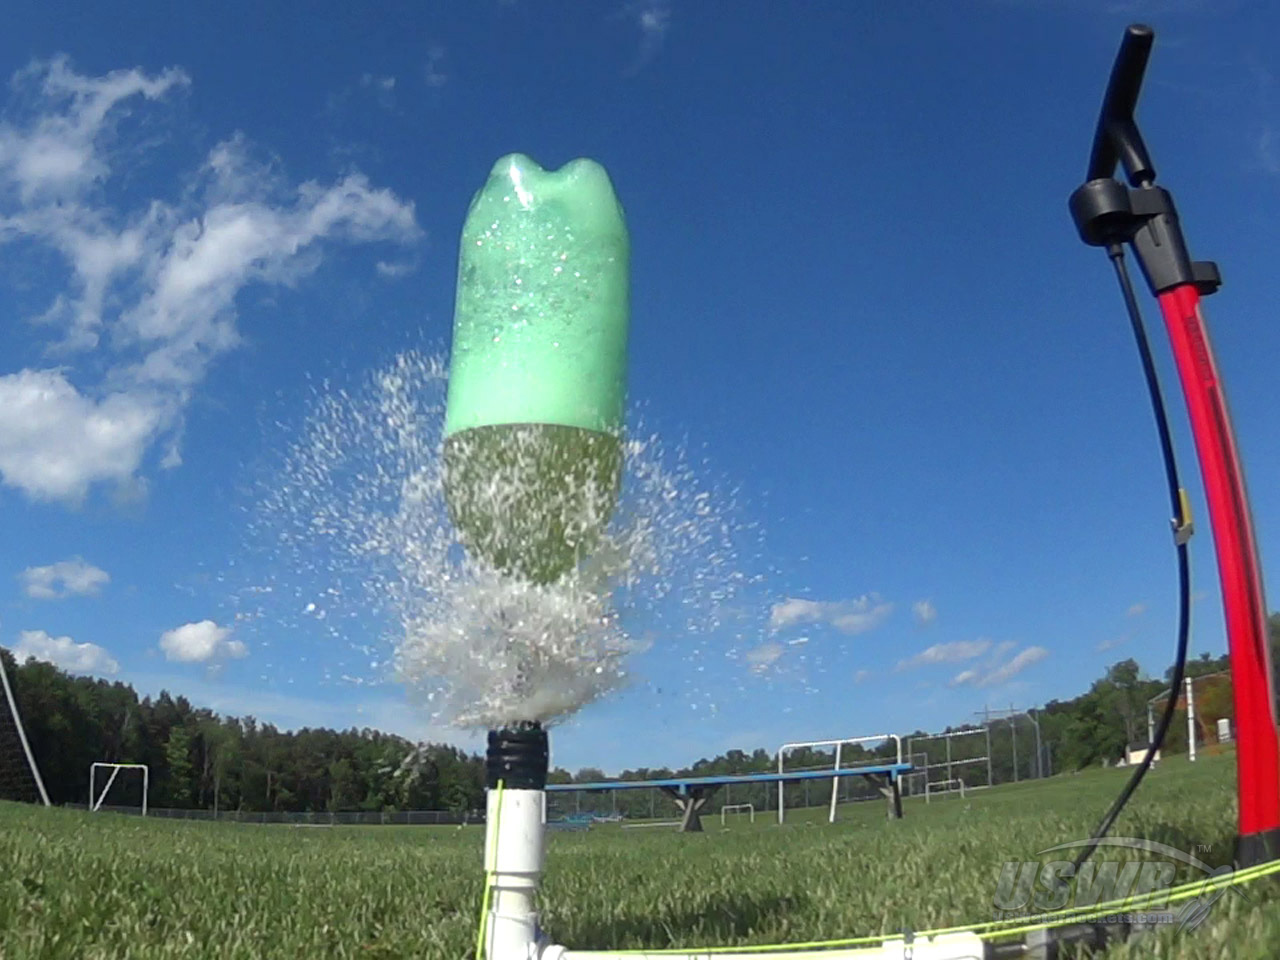
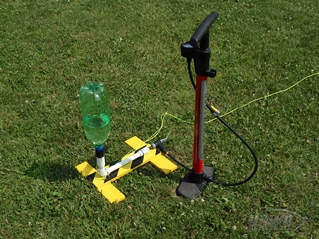
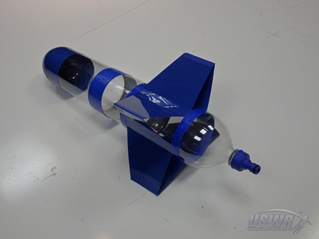
The last thing you need is a water rocket. You can launch just about any empty soft drink bottle by attaching a gardena style nozzle to it, but you can build much more complex water rockets which will fly much straighter and go higher.Gallery
Gallery
Gallery
How to Make a Gardena Launcher for Water Rocket Video Tutorial:
 How to Make a Gardena Launcher for Water Rockets by
U.S. Water Rockets is licensed under a Creative Commons Attribution-NonCommercial 3.0 Unported License.


