


Quick-start instructions for the ServoChron™
Introduction:
The ServoChron™ is a low cost time delayed single/dual servo controller designed for use as a parachute deployment or staging mechanism for Water Rockets. There are other potential applications for the ServoChron™ as well.If you are looking at the ServoChron, you may be interested in building the successor project, the LaunchPad AlTImeter. The Model Rocket Altimeter that you build yourself. Just go to the link http://www.uswaterrockets.com/documents/LaunchPad AlTImeter/manual.htm to find out more about this new project!
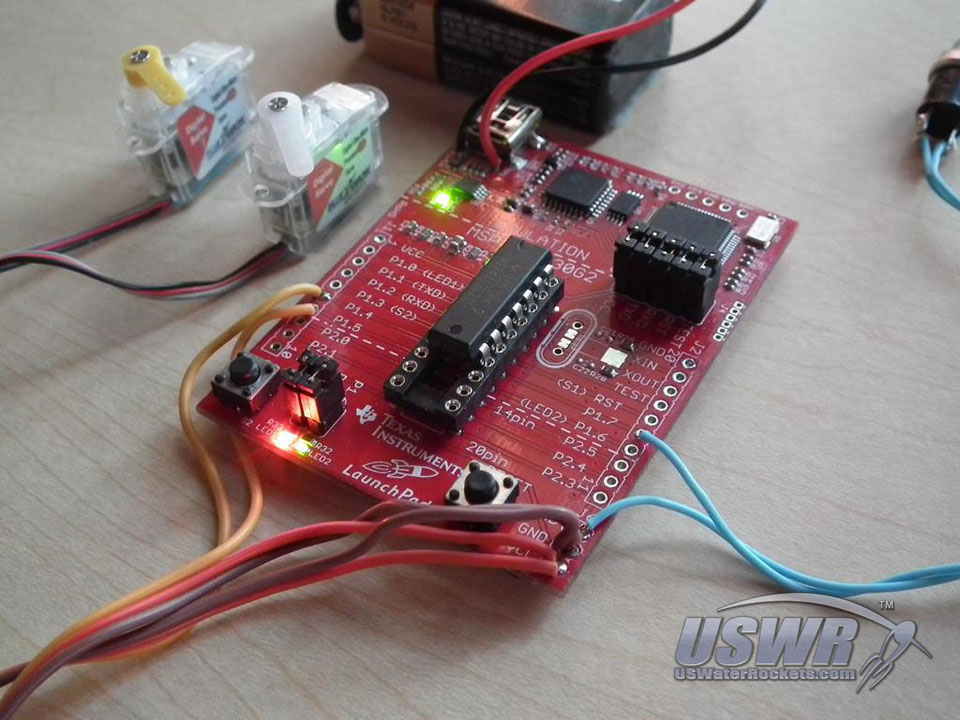
The core of the ServoChron™ is the Texas Instruments MSP430 LaunchPad. This board is an inexpensive microcontroller hobbyist experimenting platform that you load our FREE application firmware the MSP430 LaunchPad into a user programmable dual servo deployment system timer/controller.

ServoChron™ 2 Features:
- Low cost
- Dual servo control
- Built on ultra-affordable MSP430 LaunchPad Platform
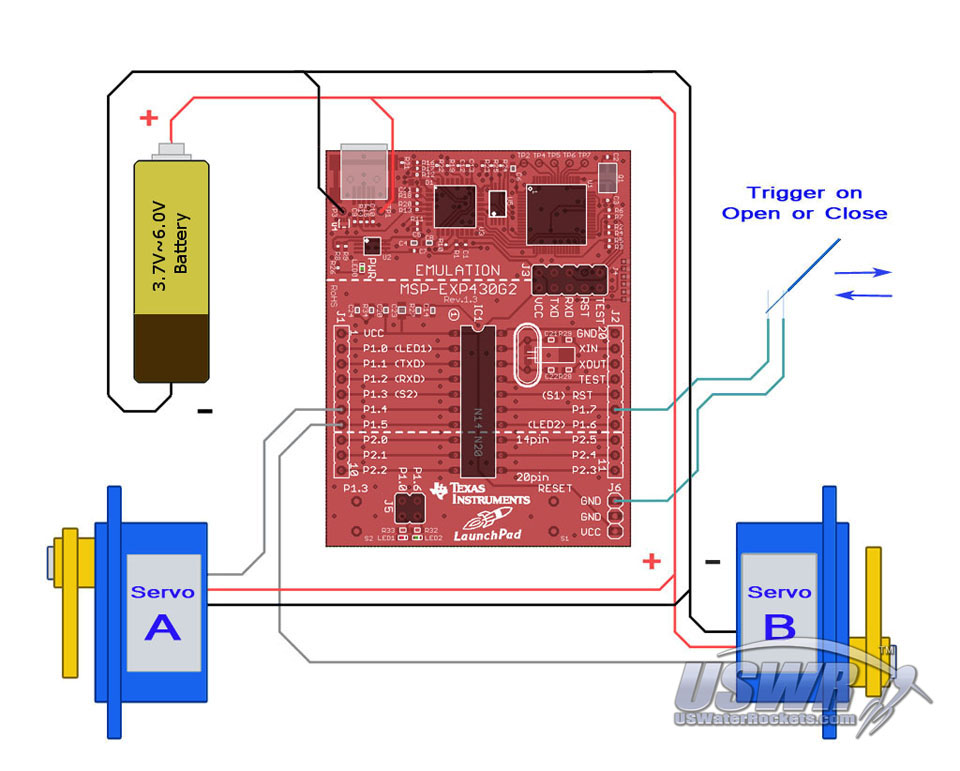
- Operates on 3.7V-6.0V DC. You may use various power sources notably a single lightweight Lithium Polymer rechargeable cell.
- User defined servo positions for each servo
- User programmable delay for each servo from 0.000 to 30.000 seconds in 1 millisecond increments
- USB Firmware update (with included cable! No special programming hardware to buy!)
- Edge sensitive trigger input with automatic polarity detect
- Trigger input capable of sensing contact open or close events shorter than 10 nanoseconds
- Innovative 2-button operator interface with easy to remember setup
- 3 Status LED's
- UART (Serial) diagnostics mode
- Dimensions: 2.0 x 2.6 inches (50.80 x 66.04 mm)
- Weight : 0.635 oz (18 grams)
- Includes testing and arming operational modes
- Fully RoHS compliant. Contains legal levels of lead and hazardous materials
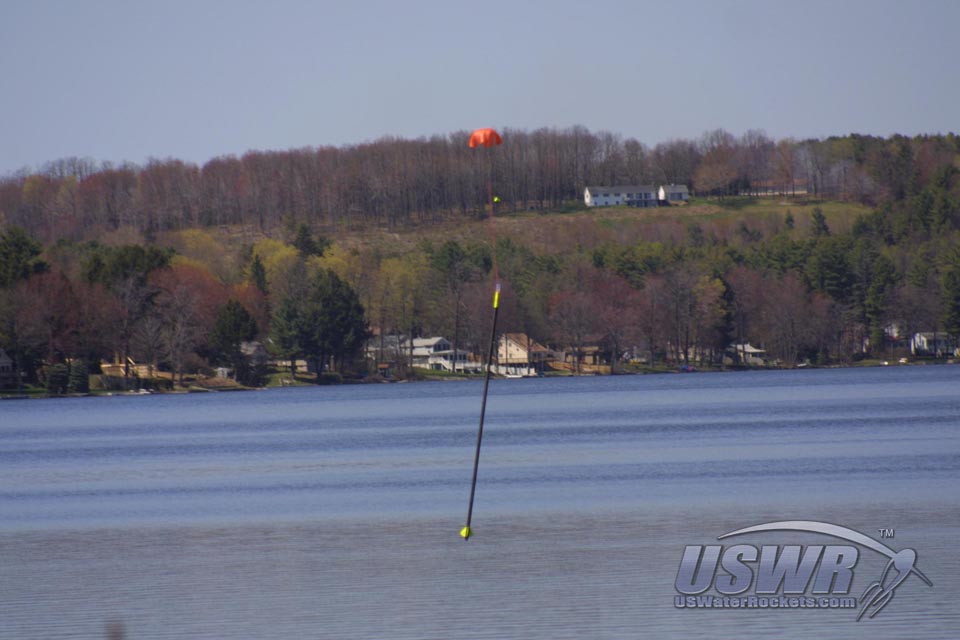
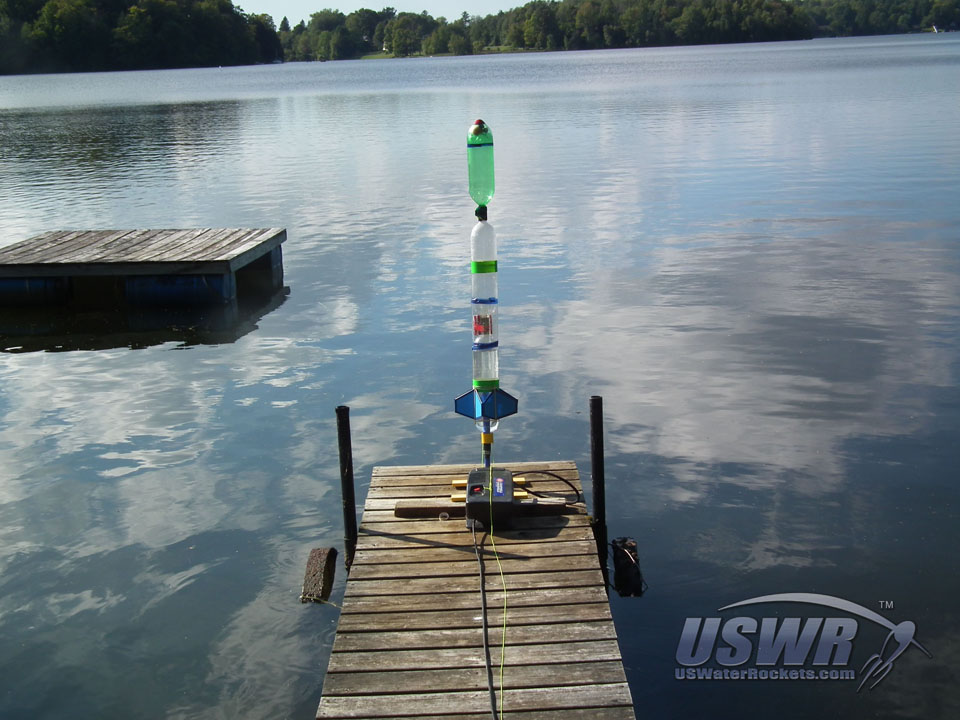
The trigger switch detects the launch of the Water Rocket and the timer delay is set to the predicted time to reach apogee. One servomotor usually is used to deploy a small drogue parachute at apogee, and the second servo motor is used to deploy a larger main parachute some time later. This arrangement allows the rocket to quickly but controllably descend on the drogue parachute closer to the ground, where the larger parachute takes over and slows the final portion of descent to a rate which minimizes the chance of damage to the rocket upon landing. This arrangement is designed to prevent the rocket from drifting far from the launch area due to winds by reducing the time spend descending, but still providing a gentle landing. Another application commonly requiring dual servos is to deploy two independent parachute systems at apogee for redundancy. There are limitless applications to explore.
Purchasing information:
The ServoChron™ firmware costs NOTHING. You will need to purchase your own MSP430 LaunchPad board, servos, and battery. See the assembly section of the
ServoChron™ Manual for full parts list and prices. The total Bill of Materials for a complete dual deploy system, assembled, and ready to fly will be approximately $20.00US.
The following steps are the quick-start instructions for the ServoChron™. Please Download the
ServoChron™ Manual for the complete documentation and assembly instructions.
Step 1: Get the parts:
Purchase the components for your deploy system. TheServoChron™ Manual has links to suppliers for these components.
1 MSP-EXP430G2 MSP430 LaunchPad Value Line Development kit
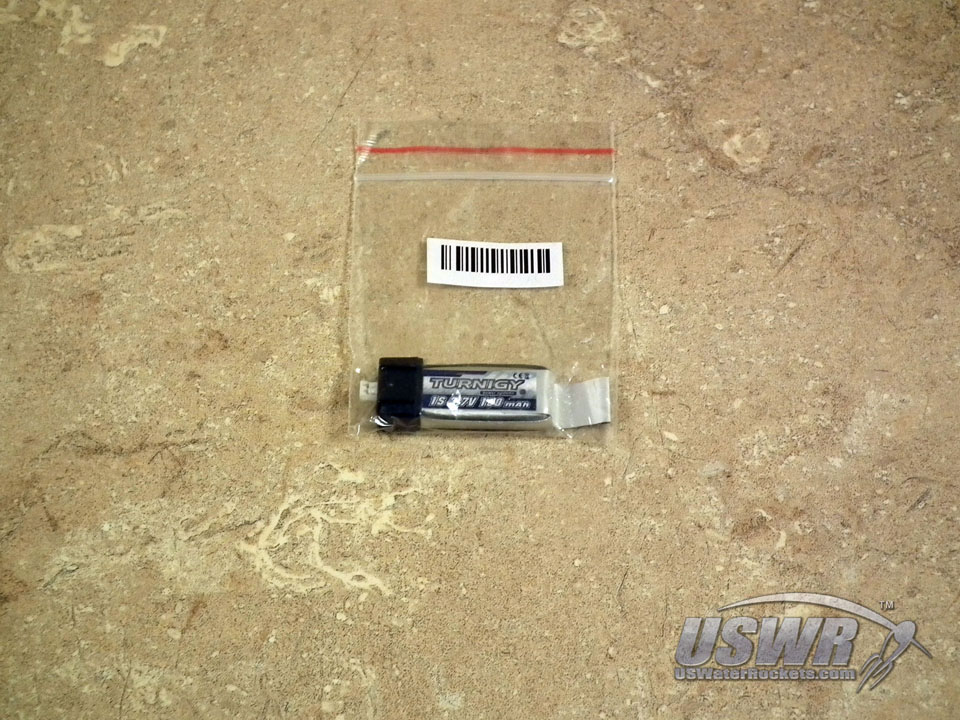
1 T1601S-30 Turnigy 160mAh 1S 130C Lithium Polymer Cell
1 HK9727 Mini Plug Extension for Micro Battery
2 HK9710 JR Type Servo Extension 10CM Servo Lead
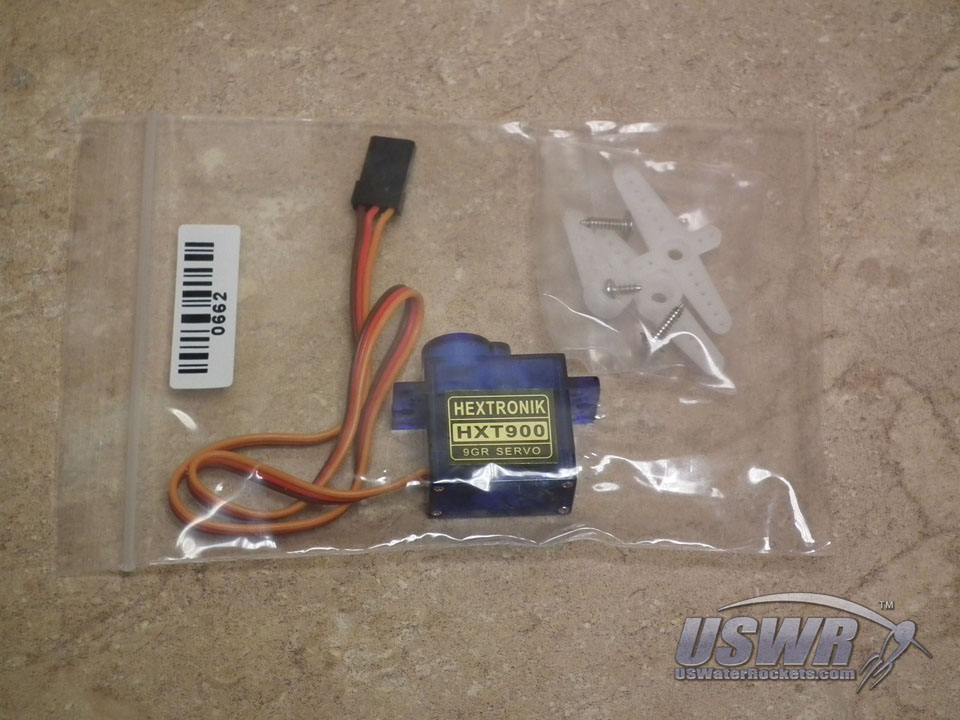
2 HXT1500 9g / 1.6kg / .12sec Micro Servo
Gallery
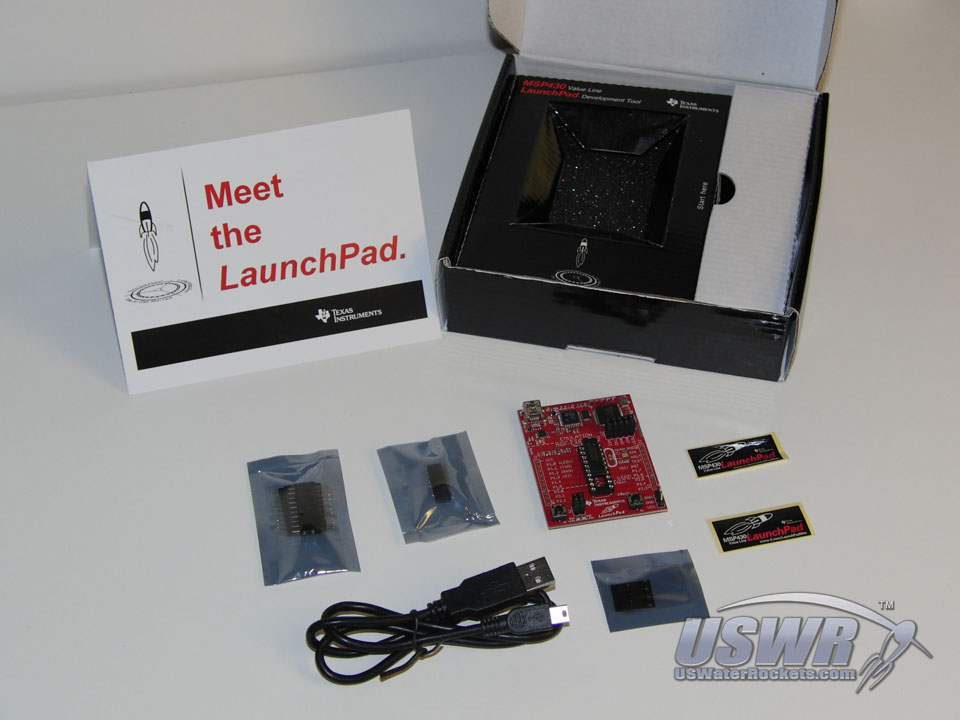


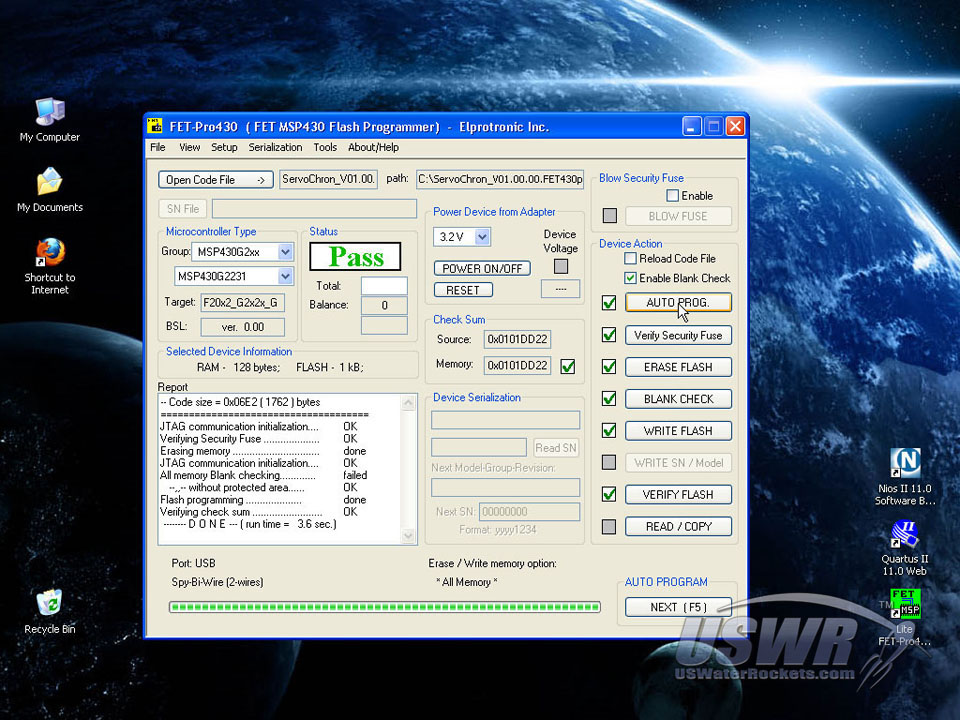
Step 2: Get the FREE software and manual:
Download the FREE software packages used in this tutorial. The ServoChron™ User Manual has links to the software you will download.Elprotronics FET-Pro430 Lite (from elprotronics.com)
User Manual File (from USWaterRockets.com).
ServoChron™ Manual
Gallery

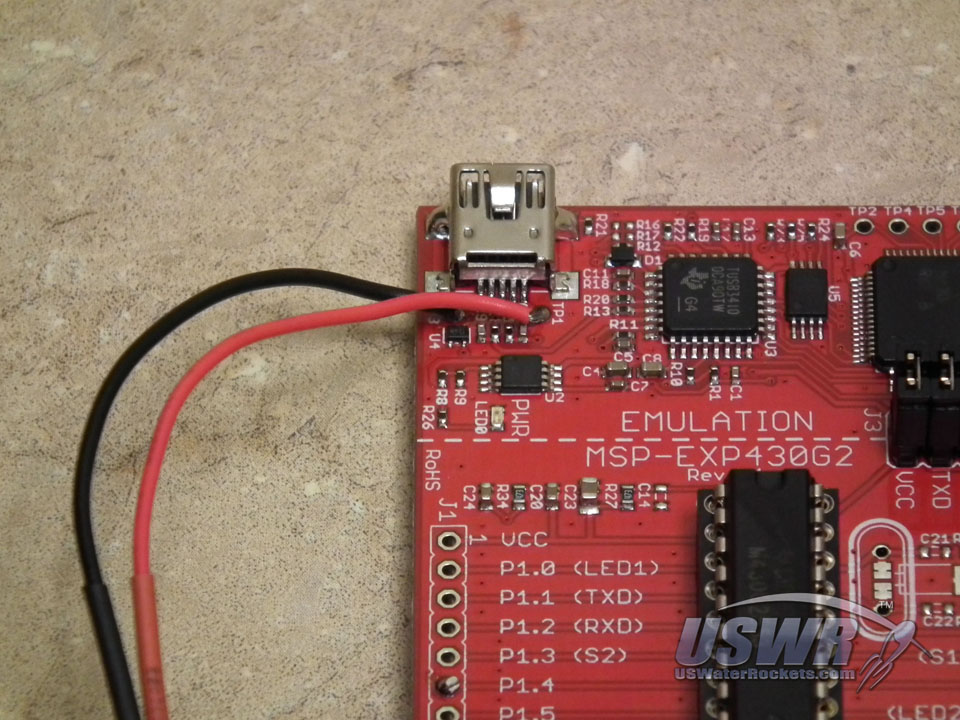
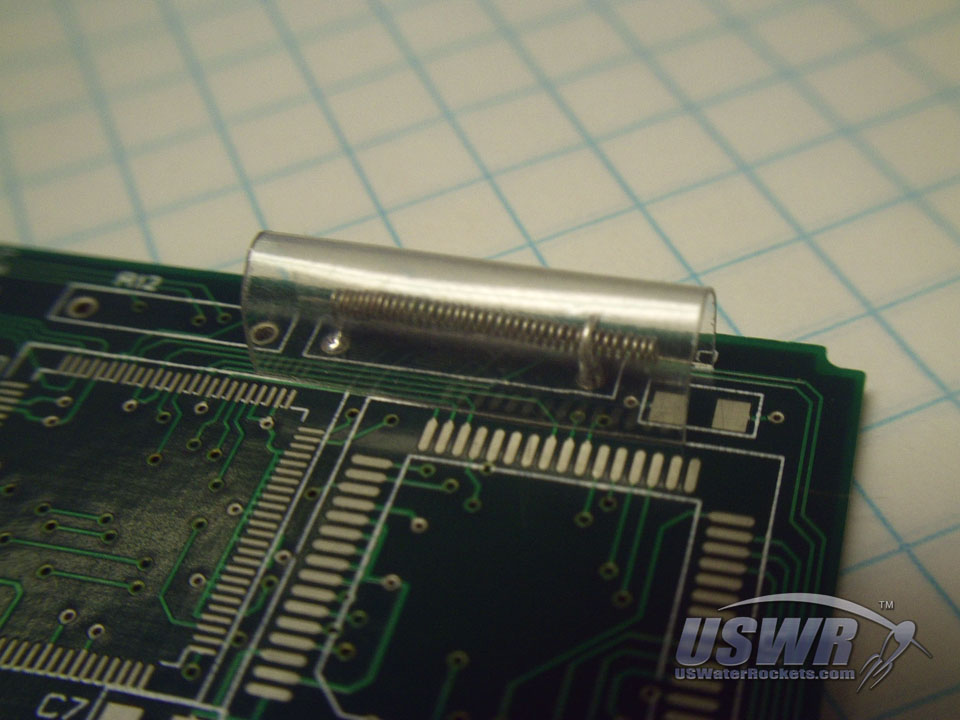
Step 3: Solder the Battery connector:
Solder a battery extension lead to the test points near the USB connector on the MSP430 LaunchPad. This is where the battery will connect when the USB cable is unplugged. Caution: Do not connect a battery and USB power source at the same time. This could damage the battery, or your computer.Gallery
Step 4: Solder the servos:
Solder the servo extension leads to the test points on the MSP430 LaunchPad. Each lead has 3 wires. A control wire which is typically white or orange, a power lead which is usually red, and a ground lead which is usually black or brown. The power leads of the two servos and ground leads of the two servos will connect to the same test points as the power and ground leads of the battery. The control leads of the servos go to the test points marked 'P1.4' for Servo 'A' and 'P1.5' for Servo 'B'.Gallery

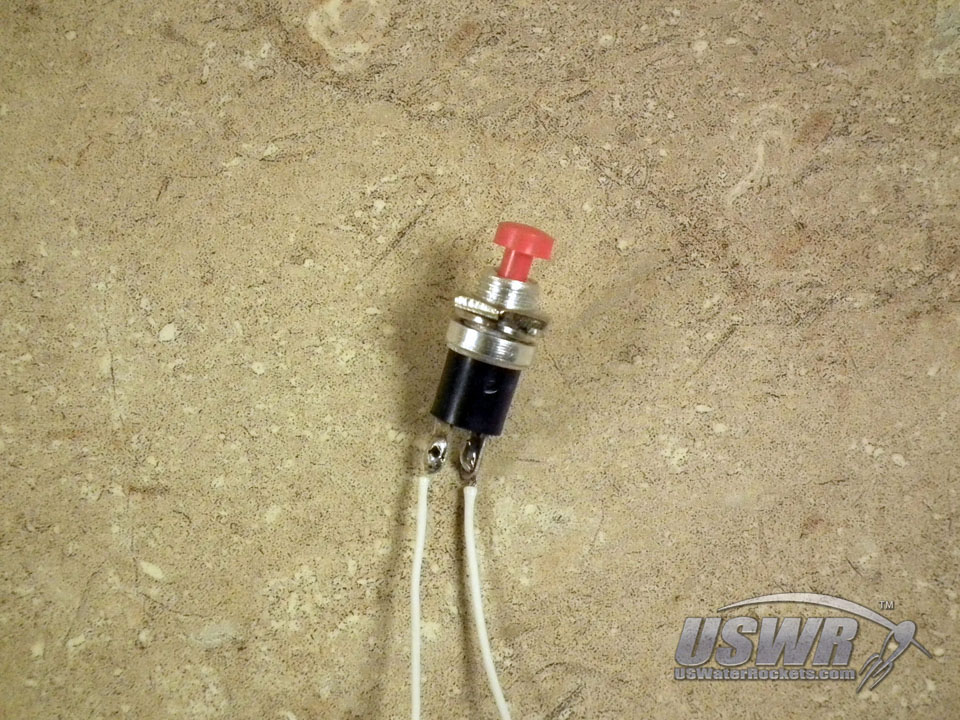
Step 5: Connect a Launch Detect System:
Solder a wire to the test point marked 'GND', and another wire to the test point marked 'P1.7'. These wires will connect to a switch that will open or close when the rocket launches, or a simple breakaway wire that will disconnect when the rocket launches.Gallery
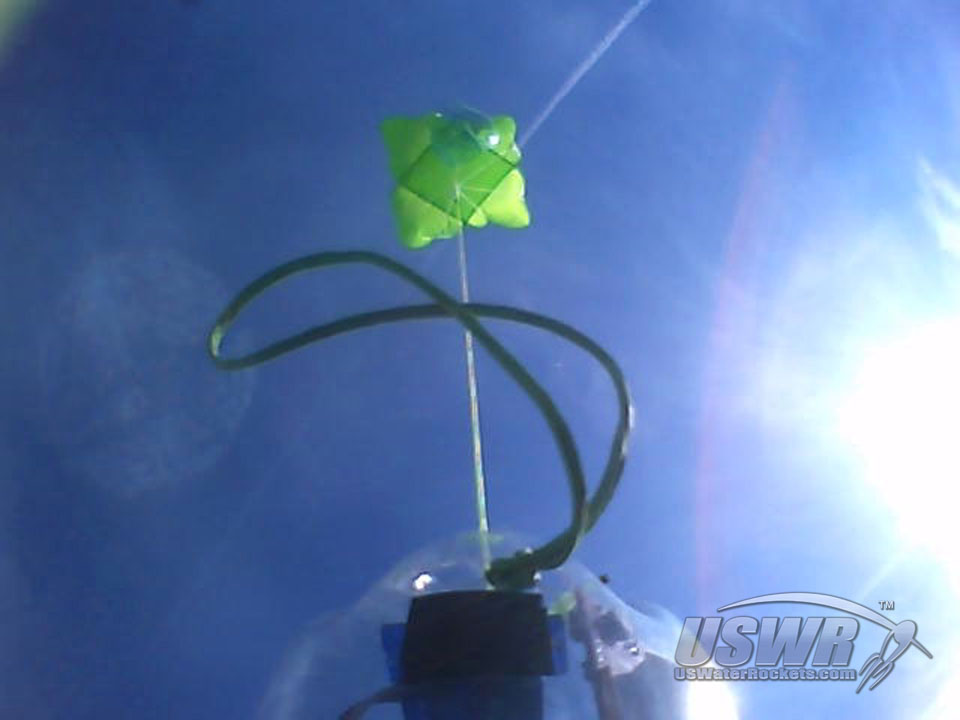
Step 6: Build a deploy system for your servos:
There are a vast number of schemes for deploying a parachute with a servo available on the internet. You can either use an existing design, or think of a new design you can call your own. Be creative.Gallery
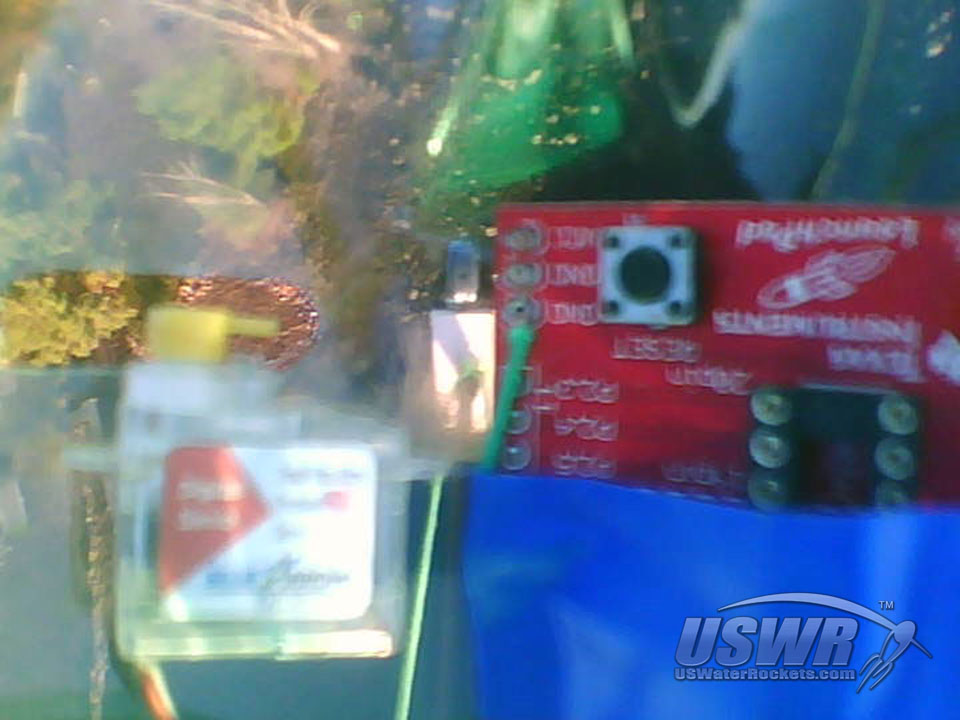

Step 7: Configure the ServoChron™ 2:
The user manual contains detailed instructions for loading the firmware into the ServoChron™ 2. The manual also explains how to set up the servo timers and positions as well as troubleshooting/error codes. Please read the directions in the manual to configure the settings.Gallery
Step 8: Finishing:
Your ServoChron™ 2 is complete and ready to launch! We hope you enjoy this low cost timer and experience many safe landings.Gallery


ServoChron™ Video Tutorial:
 Quick-start instructions for the ServoChron™ by
U.S. Water Rockets is licensed under a Creative Commons Attribution-NonCommercial 3.0 Unported License.
Quick-start instructions for the ServoChron™ by
U.S. Water Rockets is licensed under a Creative Commons Attribution-NonCommercial 3.0 Unported License.