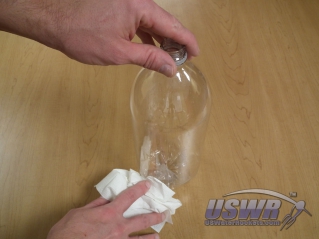
Alternative Method for removing stubborn labels from soda bottles for Water Rocket Construction or other craft projects.
Introduction:
If this method does not work well, we suggest you try the method described in our other bottle preparation tutorial. Water Rocket Bottle Label Removal and Preparation. Before you construct water rockets from soft drink bottles, you will have greater success and produce better looking results if you take a short time to properly clean and prepare your bottles. This involves removing the labels and adhesive from the bottles and making sure there are no oils on the bottle. Failing to do so can result in the rocket leaking or exploding under pressure, due to contaminated splices.Note: This technique works best on bottles which have plastic labels that wrap around the entire bottle circumference and are glued at the seam. Bottles with labels that do not go all the way around and have adhesive covering the entire label backing seem to work best with our other method Bottle label removal and preparation tutorial.
Clean bottles also simply make for nicer looking rockets as well.
Step 1:
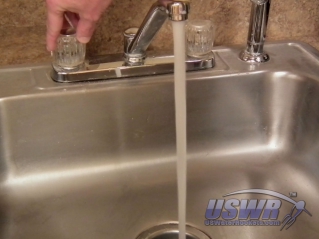
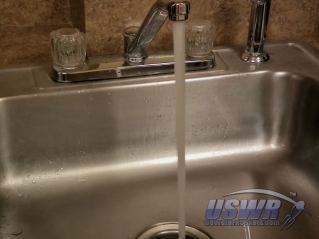
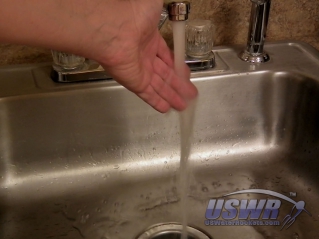
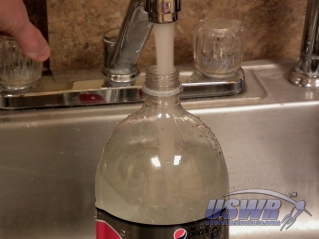
Turn the hot water tap on in your sink and allow the water to flow until it reaches the maximum temperature. Adjust the temperature of the water by turning on the cold water and adjusting the flow until you have water that is very hot but not too hot to touch. If the water is too hot to touch, it will be hot enough to start to shrink the bottle plastic and deform the bottles.Gallery
Step 2:
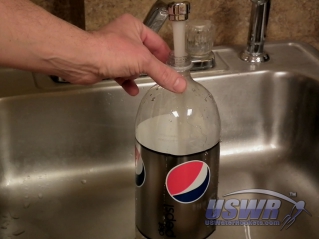
Fill a bottle from the hot water until the water level in the bottle is above the top of the label. After about 20-30 seconds, the heat from the water will begin to warm up the adhesive under the label and it will get very soft and tacky. ...Step 3:
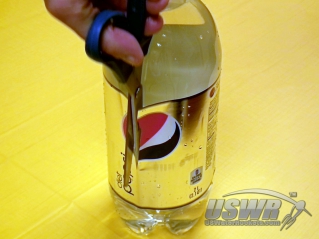
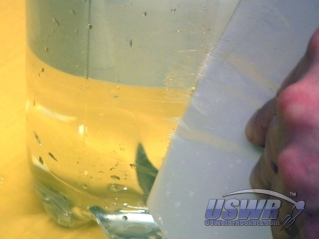
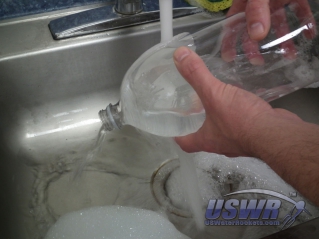
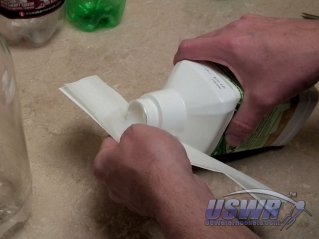
With your knife or scissors, slice the label lengthwise and grab one side and begin to carefully peel the label off the bottle. Pull slowly and steadily so that you don't pull the substrate off the back of the label.When you have removed all of the label material from the bottle, pour the water out (or dump it into the next bottle you will be working on. The water will stay how for a long time and can be used for many bottles (saving energy).
Gallery
Step 4:
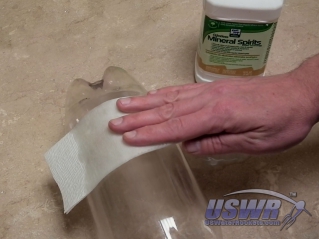
Using mineral spirits or a similar solvent on a paper towel, clean all traces of the remaining adhesive residue from the surface of the bottle. It is important to remove this residue because it will not bond with bottle splicing adhesives and can cause splice failure if left on the bottle.Step 5:
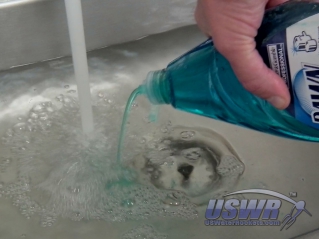
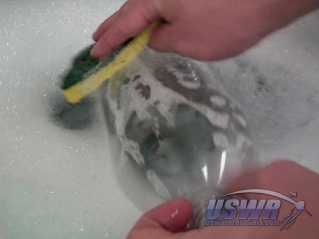
Fill a sink or bucket with more water and add in a liberal amount of strong grease cutting dishwashing detergent. Wash each bottle completely in the soapy bath to remove all traces of the solvents used to strip the adhesive. This will also remove oils from contact with your skin in the process. Any oils left on the bottle can affect the ability of splice adhesives to adhere to the bottle.This is a good time to also wash and rinse out the inside of the bottles, to remove any leftover residue from the contents that may be left behind.
Completely rinse the bottles using clean fresh water to eliminate any traces of soap, which can also contaminate bottle splice joints.
Step 6:
Shake out as much of the water as possible and then dry your bottle with clean paper towels.This concludes the tutorial. Your bottles are now fully prepared for transformation into a water rocket! Check out our other tutorials for tips on how to splice bottles, make fins or nosecones for your new rockets!
Bottle Label Removal and Preparation Tutorial Video:
 Water Rocket Bottle Label Removal and Preparation Tutorial V2 by
U.S. Water Rockets is licensed under a Creative Commons Attribution-NonCommercial 3.0 Unported License.


